by Jason Prahl | Mar 14, 2008 | Blog, Computer Tips, Microsoft Windows, Software
I’ve been a long time Nero user, but lately it seems even my favorite burning software has become so bloated and overfilled with extras that it’s a hassle to just install the beast.
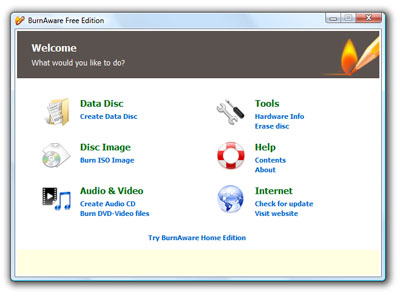
So, when I reloaded my laptop recently I started poking around for an alternative and I found this little free gem called BurnAware Free.
The software is made by GloryLogic. They also have a paid version that has more features like UDF data discs, bootable discs, writing files larger than 4 gig and more. The free version does your typical audio discs, data disks, burn and create iso images and more. Here is a list of differences in the versions.
I like to make my own bootable XP install cd’s and dvd’s so I’ll likely purchase the Home version but for now I’ve been using the Free version and love the less is more approach to the interface. That’s me, less is more. Keep it simple stupid.
by Jason Prahl | Mar 14, 2008 | Blog, Computer Tips, Microsoft Windows

Unlike Windows XP, Vista doesn’t have a handy checkbox for turning off hibernation.
I recently installed TrueCrypt 5 (which is working beautifully) and used it to encrypt my whole C: drive. Since it’s encrypted hibernation does not work.
Well, I kept forgetting that and tried to put my laptop into hibernation.
I found instructions on this site for disabling hibernation which removes the choice from the start menu.
To disable hibernation:
- Click Start followed by All Programs and then Accessories
- On the Accessories menu Right Click on the Command Prompt
- From the drop down menu, Click on the Run Administrator option
- The Command Prompt window will now open
- At the command prompt type: powercfg -H off
To enable hibernation:
- Click Start followed by All Programs and then Accessories
- On the Accessories menu Right Click on the Command Prompt
- From the drop down menu, Click on the Run Administrator option
- The Command Prompt window will now open
- At the command prompt type: powercfg -H on
by Jason Prahl | Mar 13, 2008 | Blog, Software

Quite possibly the coolest Firefox addon this year is a new one called PicLens. It’s a new way to browse Google Images, Flikr, Yahoo Images, Facebook, Picasa and more. The addon is very quick and super easy to use. It’s not every day you download a piece of software and say “Whoa…”
by Jason Prahl | Mar 6, 2008 | Blog, Computer Tips, Microsoft Windows

I use Symantec Backup Exec 12 and Symantec Endpoint Protection Anti-virus and Anti-Spyware products. Recently Liveupdate quit working and it wasn’t downloading virus definition updates. This was normally an automatic process that I didn’t have to mess with, but once I saw the dates on our virus definitions looked old I jumped in to investigate. Running Liveupdate manually I would get an error message that said “LU1863: There is not enough free disk space…”. That’s odd, my server’s C drive has 35gb free, D drive has 130gb and E drive has 1.2 terrabytes free. I’d say that’s plenty of free disk space.
I uninstalled Liveupdate to no avail. I found the Liveupdate config program and emptied the cache again to no avail. After some investigating I found that the LU1863 error could actually be a communications problem, not a hard drive space problem. So, what’s changed lately? Well last week I installed GFI Webmonitor on my network to do some monitoring. Well, that ended up being the culprit. I went to the Whitelist and added *.symantecliveupdate.com and away the Liveupdate went!
by Jason Prahl | Mar 4, 2008 | Blog, Mame Arcade Cabinet
Since it’s been to cold to work on the cabinet I thought I would work on a list to help keep track of what I need to do and give me a place for reminders for things I want to do. Hopefully we only have a few more weeks of Winter left and Spring will be upon us. Then I can get down to business!
To do:
- Route the edges with slot cutting router bit for T-Molding
- Second coat of primer paint
- Add adjustable lights to speaker panel
- Find a 27″ TV to replace monitor
- Get Marquee artwork printed professionally
- Paint the whole thing black
- Attach T-Molding
- Create stencils for side art
- Get coin door for front
- Get glass for front bezel
- Find somewhere to mount speaker volume control
by Jason Prahl | Mar 2, 2008 | Blog, Computer Tips, Microsoft Windows

I was surprised when I clicked on a folder of raw images I’d taken with my Nikon D70 in Windows Vista and there were no thumbnails. I thought I had that ability in Windows XP but couldn’t remember if I did something extra to do it. I guess I just expected it to work in Vista. No worries though, after some clicking around I found this page on Nikon’s site with a raw codec for Windows Vista and now I’ve got thumbnails for all those .nef files!
by Jason Prahl | Feb 17, 2008 | Blog, Mame Arcade Cabinet
Winter has frozen progress on the Mame cabinet. We’ve had a couple of ice storms and it’s been a cold wet Winter. My workshop (which is my garage) isn’t heated so I just haven’t brought myself to work on it.
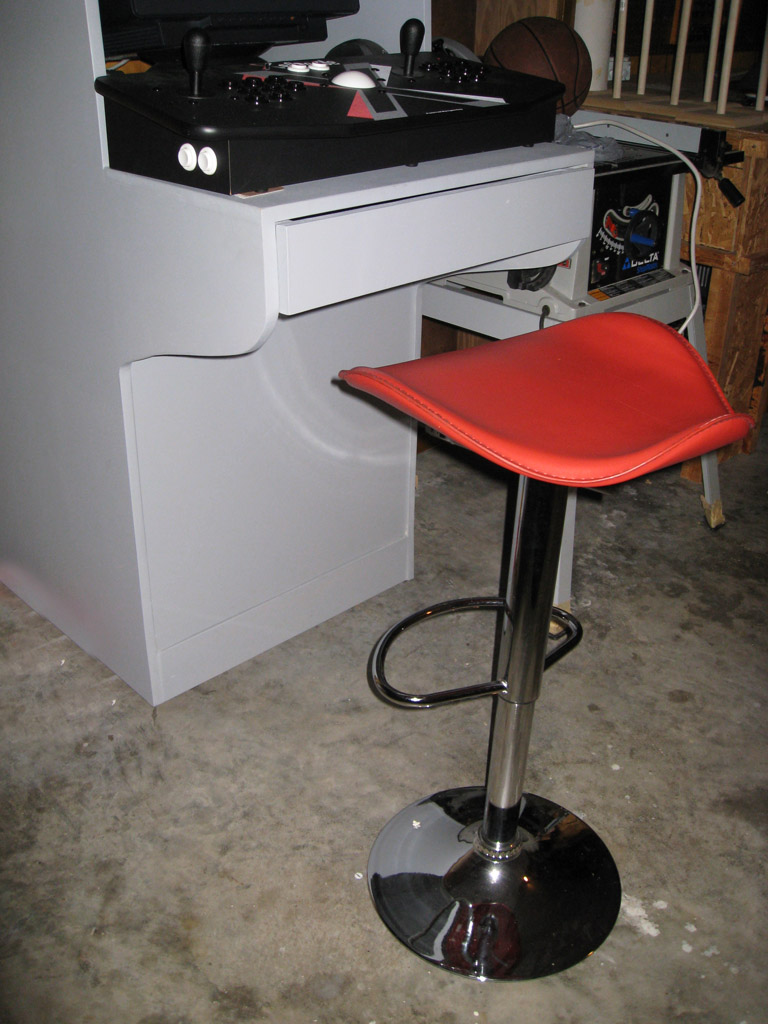
I did manage to pick up this snazzy chair yesterday. It’s a bar stool with a funky red leather seat. The height is adjustable and I thought it fit the arcade perfectly!

Hopefully we can break out of this cold weather so I can get back to working on the cabinet. I’m still looking for a 27″ TV to put in it. I’ve ran across a couple of them, but their were either to big or didn’t have s-video inputs.
Next :: Goto Mame Arcade Cabinet – Day 9
by Jason Prahl | Jan 21, 2008 | Blog, Mame Arcade Cabinet
Well, I didn’t make much progress. At least that’s how it felt. I reworked the speaker panel and installed the speaker grills. I added a green and a red button on the speaker panel and wired them in to control the computer’s power and reset button. Now I can turn it on and off without opening the front of the cabinet. The fluorescent light I was planning on using for the marquee was too small so I got a larger one that’s 23″ long and puts out more light. I’m using a set of Logitech x540 speakers and quite by accident the base of each speaker pivots around so it could be mounted on a wall which made them perfect for mounting on the 2×4 just above the speaker panel. So using the handy mount and some chicken wire I mounted the speakers and they are easily removed so I can finish painting and such.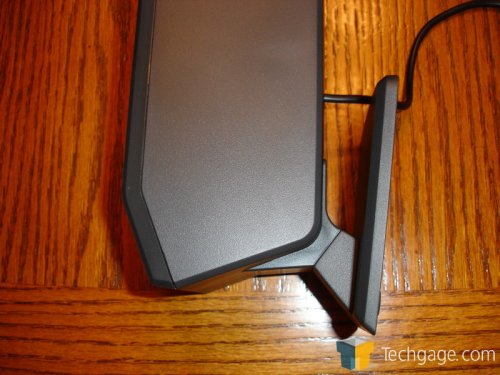
Another good thing about the x540 speakers is it has this handy volume pod sort of thing so I can put it in an accessible place and control the speaker volume.
I thought about mounting it on the speaker panel, but I don’t want to make it specific to these speakers in case I need to change them out later.
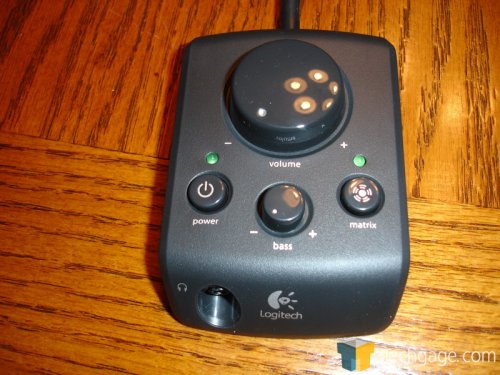
Speaker images pulled from this review of the x540 speakers here.
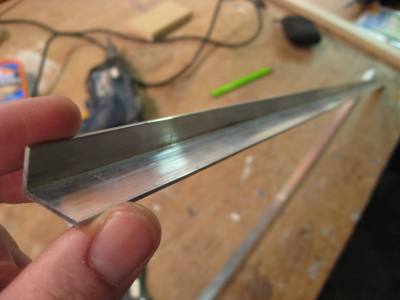
I’m pretty sure I broke the slot cutting router bit by installing it backwards. I’ve used Jigsaws and circular saws and table saws and drills and Dremels and belt sanders and many other power tools. The router is the one power tool that actually scares me a bit. The slot cutting router bit for cutting a slot in the sides for installing the T-Molding came as a shaft, a cutting blade that looks like a really small circular saw blade, some washers and bearing. You have to put it all together and I think looking back at it I put the blade on upside down. When I started doing test cuts there was alot of smoke. I just thought that’s how it did with the MDF because when I cut circle holes it did something similiar. After awhile the blades on the cutter simply broke off.
This is what it should have looked like.
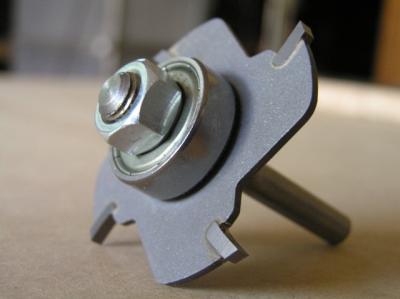
Image was pulled from here.
Well that’s a $20 lesson learned. So, I’ll get another one and try it again later.
Day 8 hours: 2 1/2
Next :: Goto Mame Arcade Cabinet – Update
by Jason Prahl | Jan 13, 2008 | Blog, Mame Arcade Cabinet

I haven’t done anything on the cabinet for the past week. I didn’t want to spend more money so I wasn’t going to do the T-Molding around the edges and some other stuff I was going to skimp on. But I figure this thing is going to be around for awhile so I want to do it right. Plus I just haven’t had any extra time to work on it. So, I’m going to order the T-Molding and the router bit for it and some other stuff and in a week or two get back to finishing it. Then I need to route edges for the T-Molding, put another coat of primer on it, paint it black, re-do the speaker panel, get the artwork printed at Kinko’s (the current artwork on the marquee I just printed on a inkjet printer, but it’s multiple pieces of paper so you see the seems), get a coin door and mount that plus whatever other things I decide to do!
I haven’t found a TV to use in it and I don’t like how the speaker panel came out so I’m going to redo that.
I also want to give it a name, but haven’t found anything that isn’t already taken or isn’t just plain cheesy and silly.
The above picture is how it now stands.
In the mean time check out this Google Directory I found with links to tons of arcade cabinets others have built. I’ve been browsing through it looking for ideas.
by Jason Prahl | Jan 5, 2008 | Blog, Mame Arcade Cabinet
Day 7 – Marquee holder and plexiglass, bought paint and that’s about it!
I didn’t get a lot done today. I wasn’t sure how I was going to do the marquee area at the top just yet. I read some around on the internet and looked at what others had done. Most bought the marquee retainer from Happs controls. It was $13.35 for 10 feet. So I added it to my cart on their website and went to check out. Well, they have a $25 minimum and I didn’t have anything else I needed right away. So, I thought well, I’ll just see if I can find something here that’ll work.
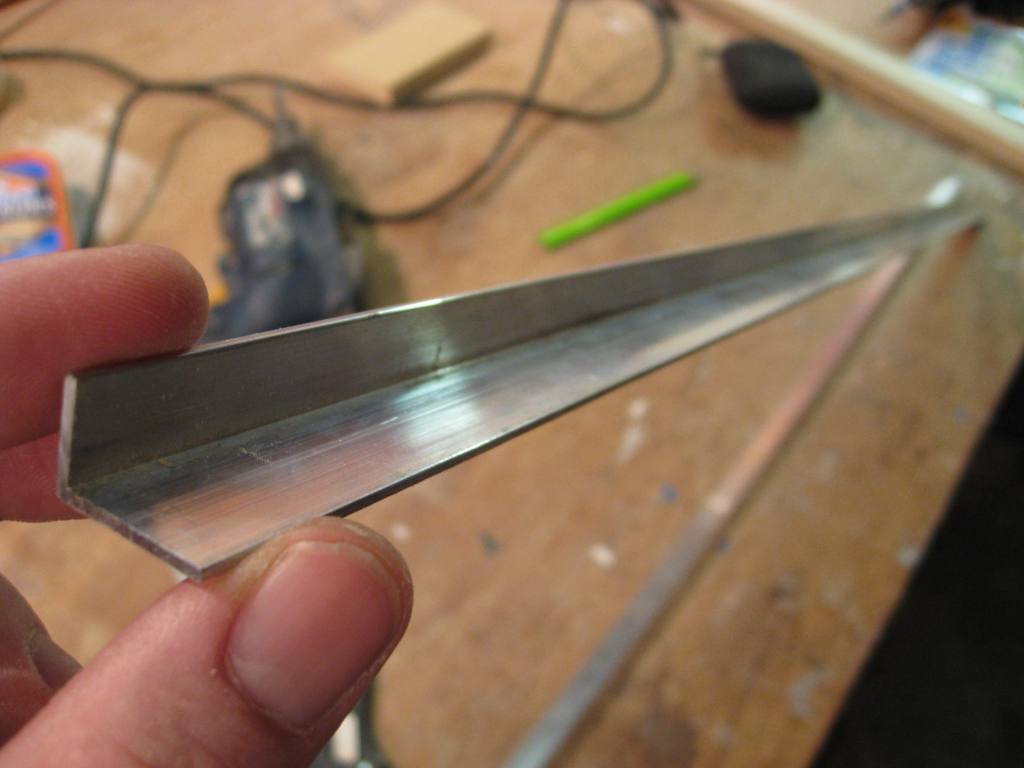
I went to Home Depot and wandered around until I found these 36″ aluminum L shaped brackets. They worked perfectly and only cost $2.99 each! Since it’s aluminum they cut fairly easily with a hack saw blade.
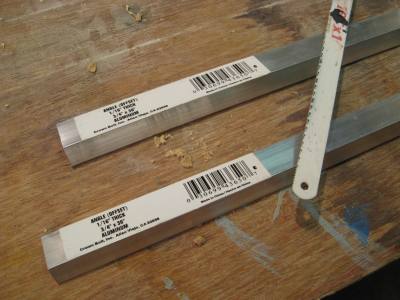
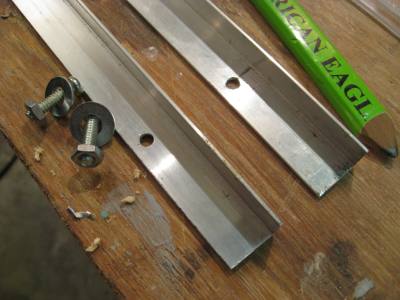
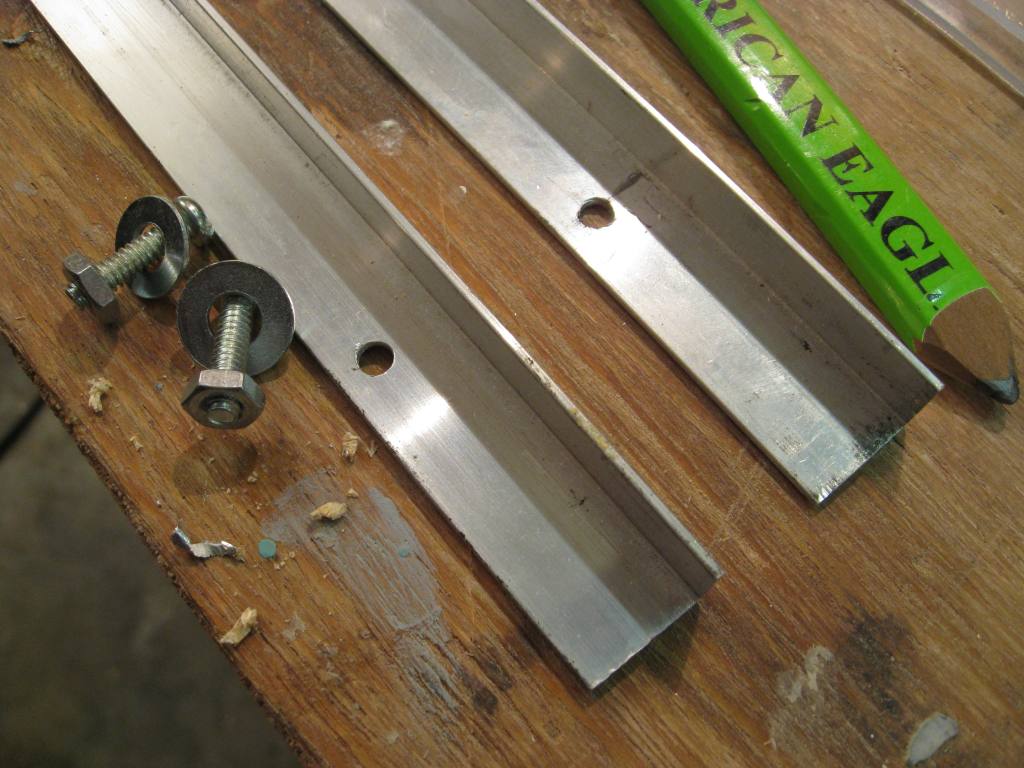
I drilled three holes in the L brackets and the upper and lower marquee support area while holding 2 pieces of plexiglass against the cabinet so I would get the spacing correct.
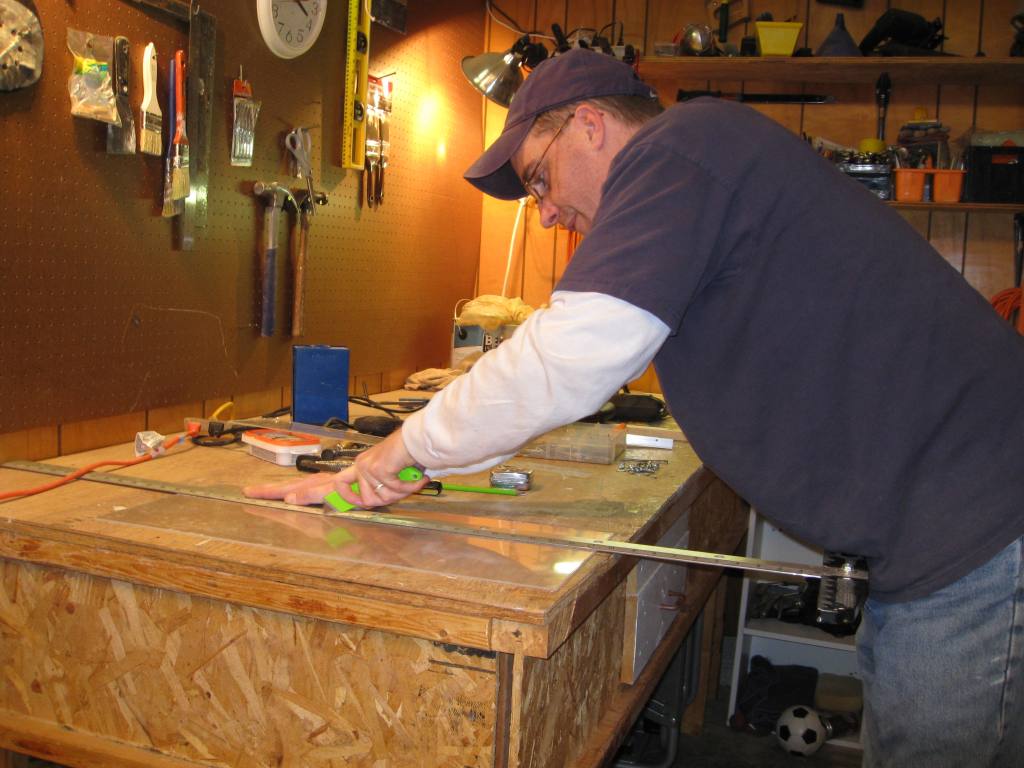
The plexiglass came in 24″ x 18″ sheet for about $7.00. I had no clue how to cut it so I just grabbed my utility knife and scored it until it came apart. That doesn’t make for very clean edges, but you won’t see the edges I cut since they’ll be resting behind the L brackets. If you have to cut a side of the plexiglass that will show you’ll want to find a different way to cut it.

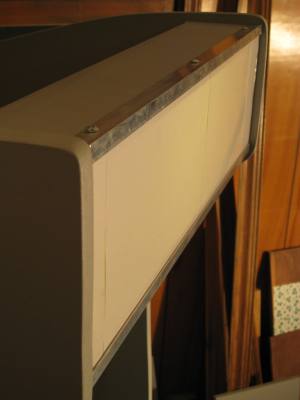
Here is the plexiglass installed with the L brackets. I have a piece of blank paper between 2 sheets of 24″x 7″ plexiglass. I’ll work on the artwork and have it printed at Kinko’s later.


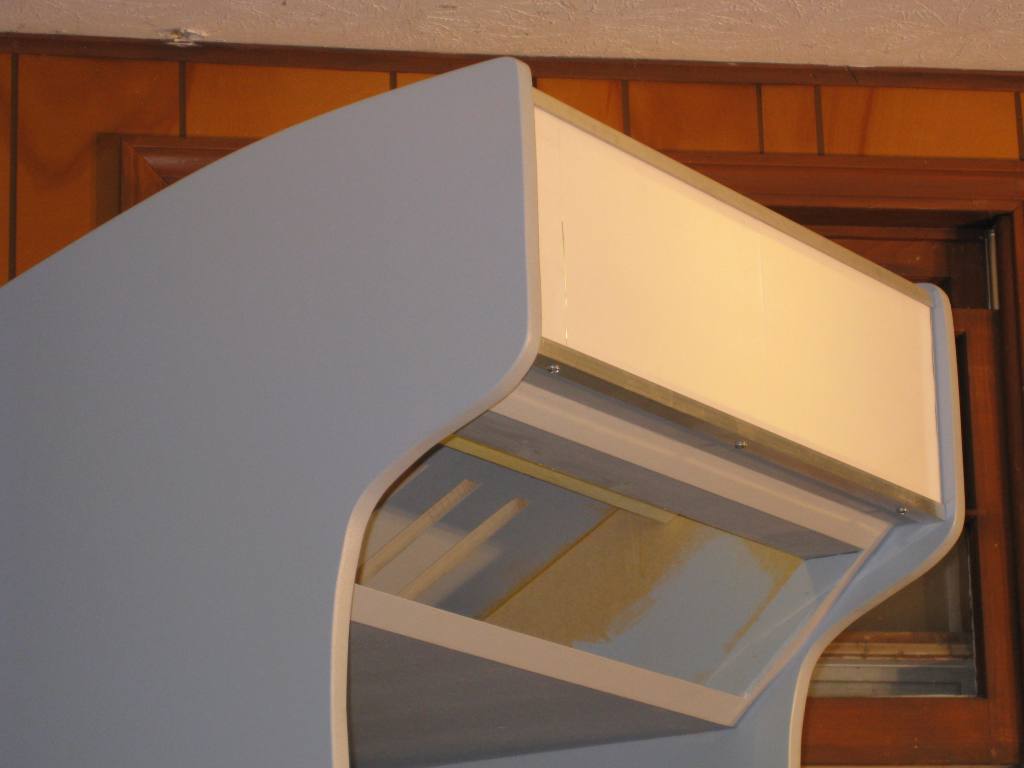
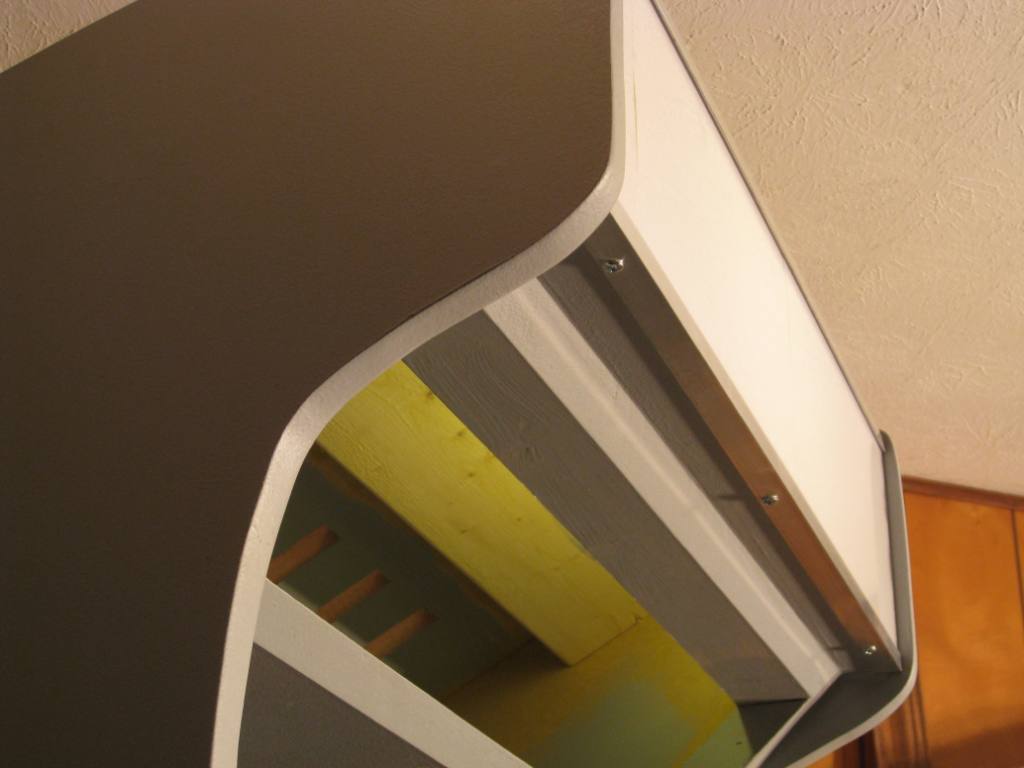
Like I said earlier, I didn’t get alot done today. Mostly because while the primer was drying the other day I took some of the scraps from the arcade cabinet and made my wife this little writing desk. It’s 31″ tall, 18″ deep and 40″ wide. She saw a picture in a magazine and asked me if I could make it. I wasn’t sure, but I figured I’d give it a try. It turned out pretty good and should score some brownie points for all the hours I’ve spent (and will be spent) working on the arcade cabinet!

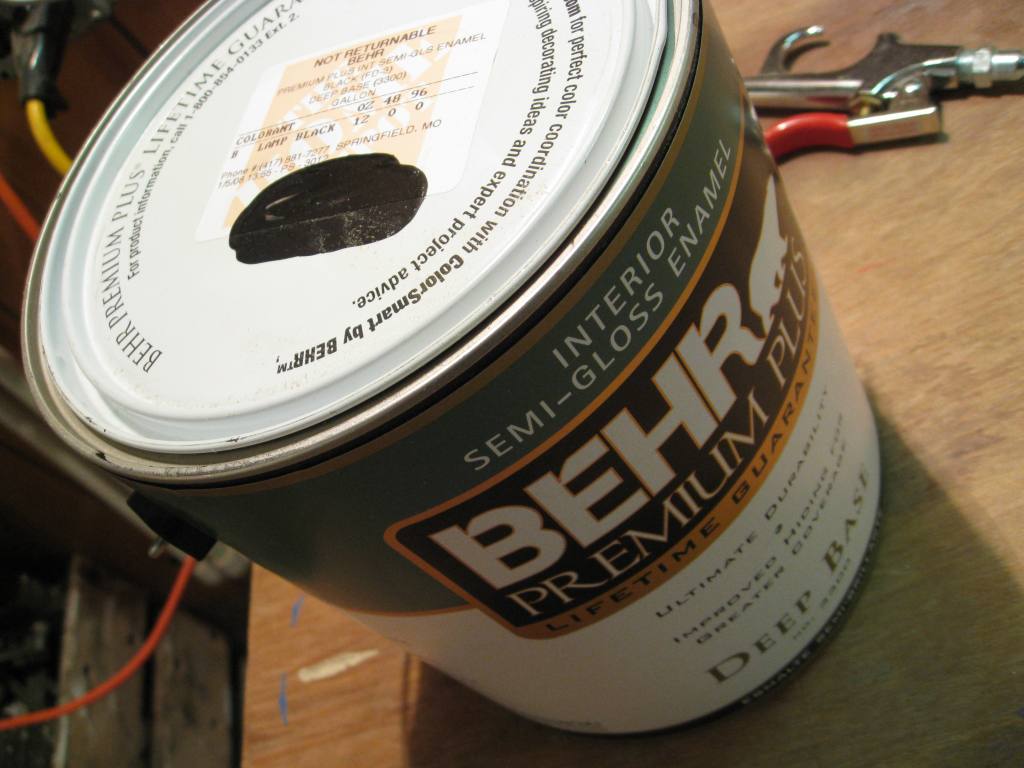
Oh, I also managed to buy the black paint!

Day 7 hours: 2 1/2
Next :: Goto Mame Arcade Cabinet – Day 8