Mini Arcade

I managed to get the rest of the parts painted black, including the speaker panel.
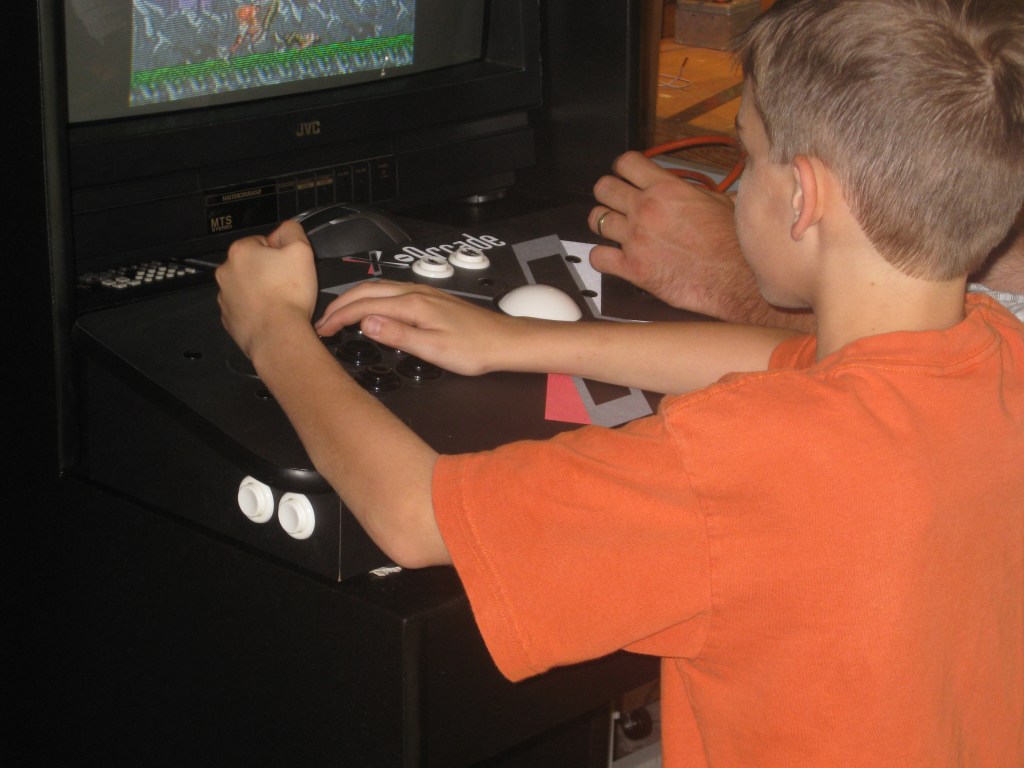
Here is my son and brother-in-law playing Contra. Great game!
(Note: click the images for larger versions.)

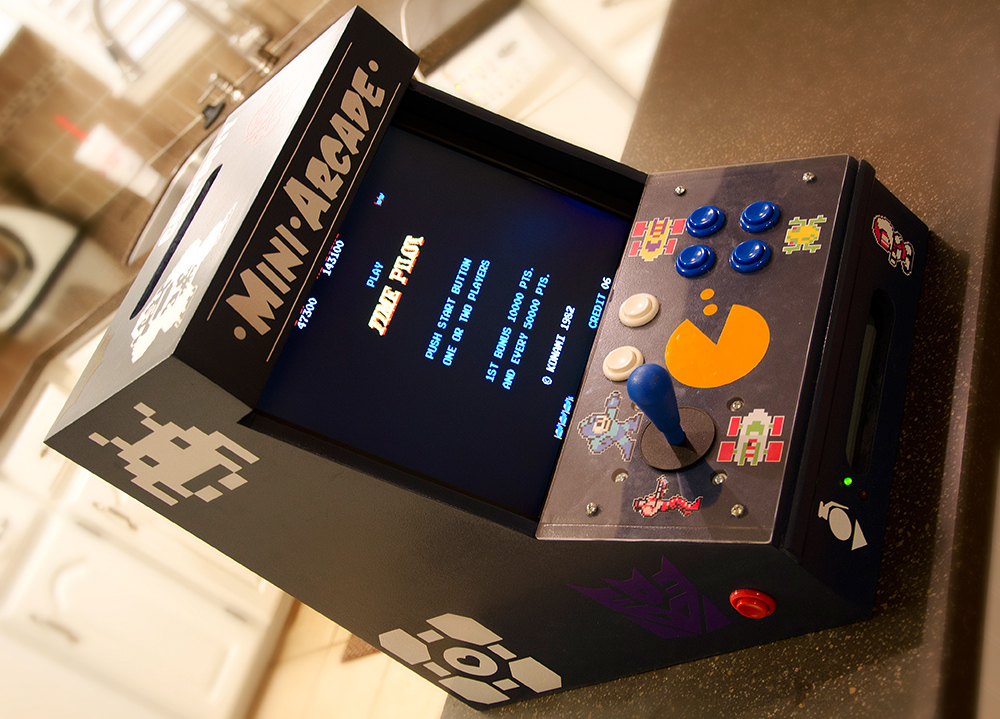
You can’t really see them in this size, but if you click on the image below you will be able to see the LED lights just below the green and red buttons.

Stuff I still need to do:
Get the marquee printed at Kinko’s.
Get glass to server as bezel in front of the TV.
Design artwork for side of cabinet, front of drawer and glass bezel.
Install piece of trim across the front above the drawer.
Get glass to server as bezel in front of the TV.
Get a switch box so I can install an XBox 360 and PS2 and switch between them.
Make an opening on the front door to give easy access to consoles etc. inside.
Whatever else pops into my head! :)
More progress! You might be wondering where Day 9 is, well, day 9 took place a couple of weeks ago and I never got around to posting it! I’ll put it up later this week. (Day 9 posted 6/1/08)
When last we left the continuing saga of the Mame Arcade Cabinet back on the update following Day 8 the cabinet had been painted primer grey and the T-Molding still wasn’t done.
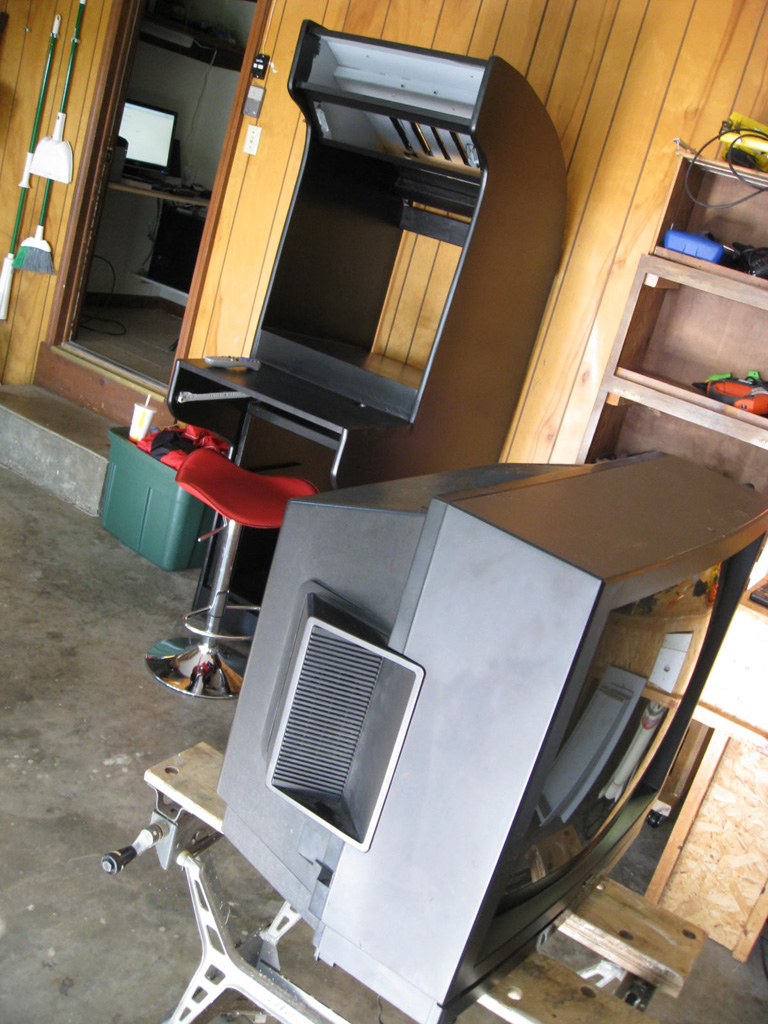
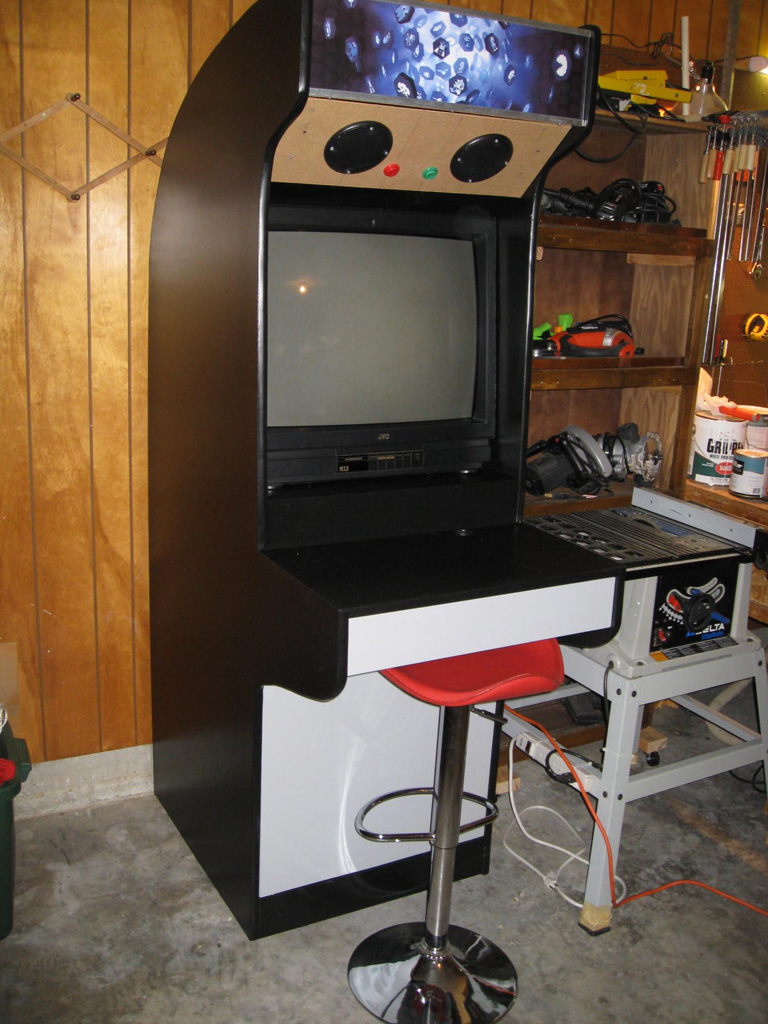
We join the saga on Day 10 and it’s been painted black (most of it), the T-Molding has been installed and I found a TV! It was my first Craig’s List purchase! I had been watching Craig’s list for 25″ TV’s for several weeks and hadn’t really found anything promising. Then I saw this posting on there for a JVC 25″ TV with a good picture, broken remote and for the low low price of $20. So, I contacted the guy and he said he’d let it go for $15 because he was eager to get it out of his house.
So, I get the TV home and it works great but…it’s 3/4 of an inch to wide to fit in the cabinet! Just 3/4 of an inch!
My first thought was…where’s my Dremel?
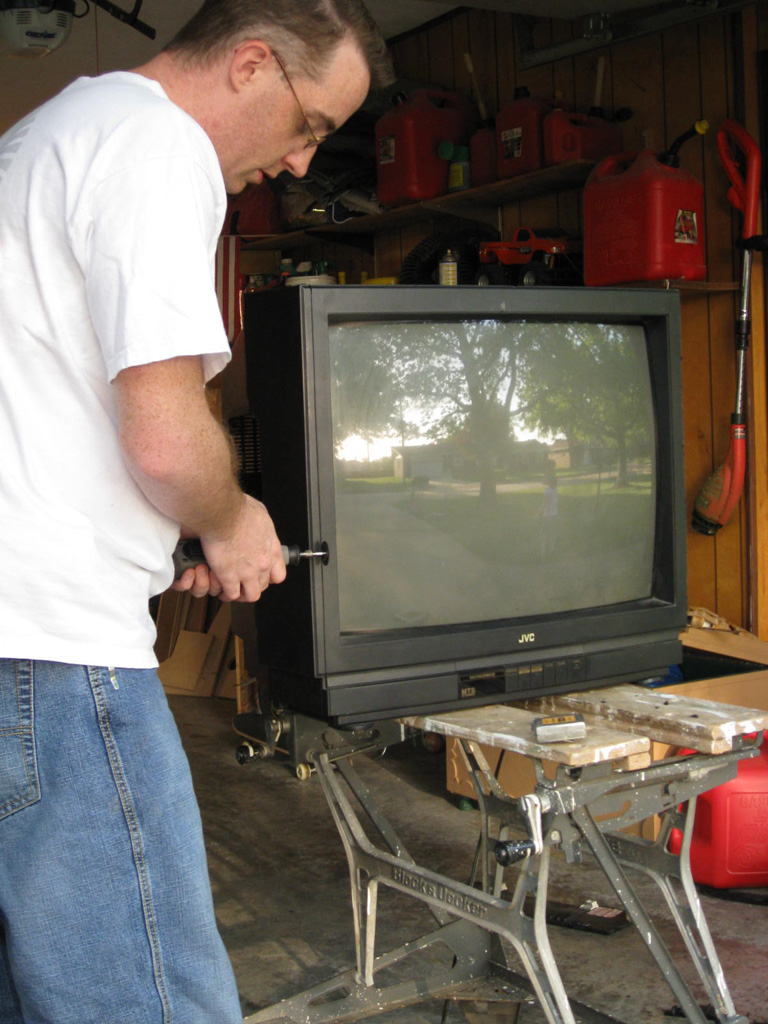

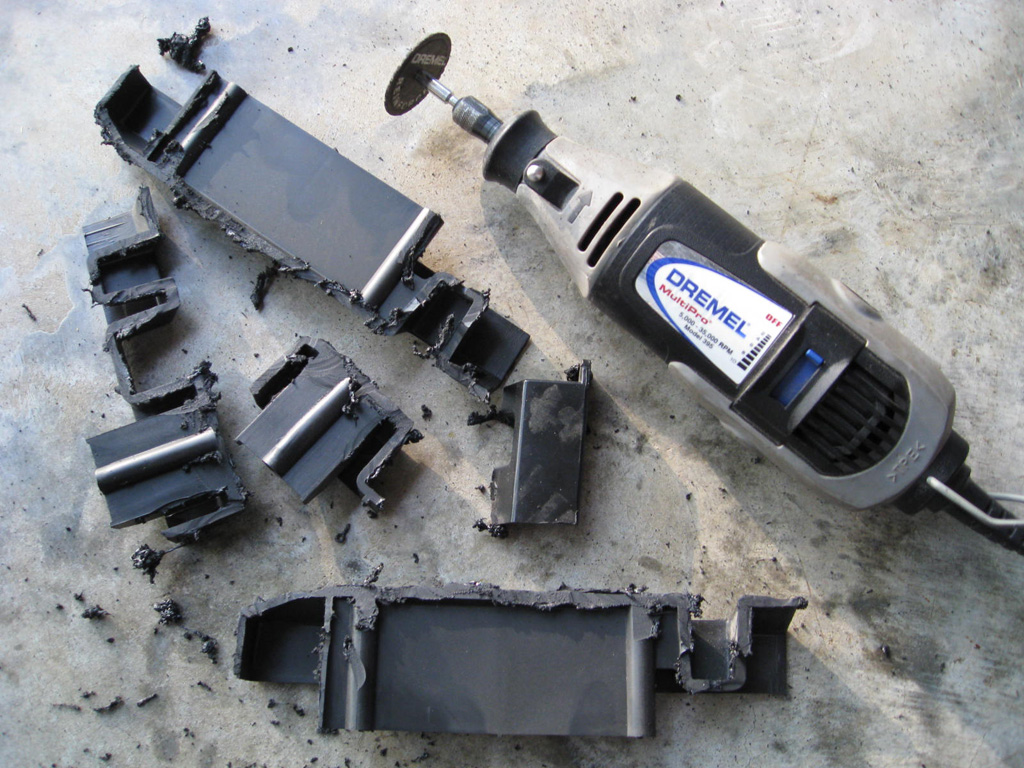
So after a bit of hacking the TV fit into the cabinet nicely. Next I plugged my Satellite TV into it to make sure the thing still worked and it does!

So here it is as it stands. I still need to paint the speaker panel, the front main door, the shelves and a little touch ups here and there. Then I need to get the computer hooked back up with the joystick. Next comes getting a piece of glass that will serve as the bezel in front of the TV as well as some sort of artwork for the sides of the cabinet. Oh, and I need to get the artwork at the top printed by Kinko’s or someone. Currently I just printed it on two sheets of paper on my inkjet printer and put them together, but when the light is on you can see the seams. It’s looking more and more like an arcade cabinet!
Day 10 hours: 2
Next :: Goto Mame Arcade Cabinet – Day 11
Day 9 brings in routing the edges for T-Molding, black paint and wiring switches and lights on the speaker panel.
After my first encounter with the router and doing the T-Molding I was really not looking forward to this part. But, once I got the depth set correctly and went after it, it worked like a charm. I do recommend doing this part before assembly of the cabinet, but since I had only done the primer coats it turned out great. I zipped around the edges and had a good clean groove in no time.
I’m not sure what it is about painting that I don’t like, but I really hate painting. Maybe it’s the monotonous motion of rolling or brushing on the paint, I don’t know. So, I started in on the black paint.
I got bored with painting so I turned my attention to wiring the switches and LED lights on the speaker panel.
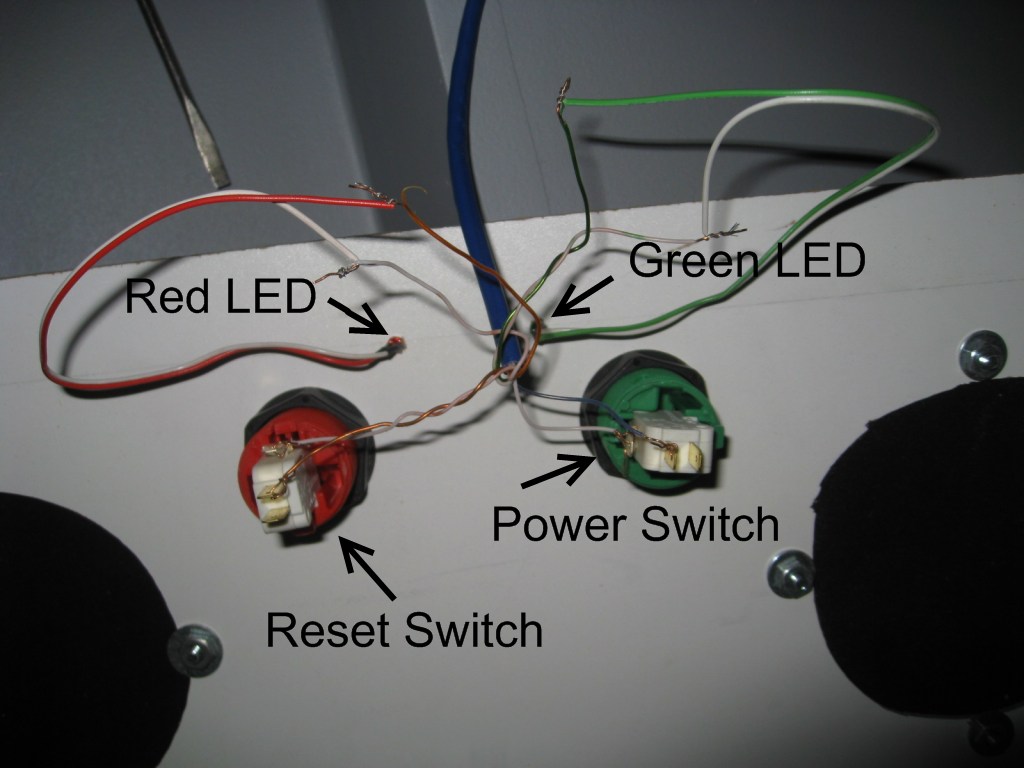
I wanted to be able to turn the computer on and off without having to open the front door of the cabinet. So, I took an old computer case and removed the green LED, red LED and the connections running from the power switch and reset switch. The I grabbed a long piece of cat5 cable and connected the motherboard connectors to the ends of each pair of the cat5.
I forgot to get a shot of the wires as they connect to the motherboard on the computer I’m using for the arcade, I’ll add that later. I ran the cable up to where the speaker panel is and connected the wires to the corresponding color pairs that I used at the motherboard end. The LEDs are mounted on the speaker panel by just drilling a small hole and pushing the LEDs into the hole. I’ll get a better shot of the front of the speaker panel later so you can see what I’m talking about.
What you see here is the back of the speaker panel.
One thing I found with the speaker grill is that since my speakers aren’t mounted right up against the speaker panel I was able to see through the speaker grill into the upper area of the cabinet. I took care of this by cutting circles out of a black t-shirt that were slightly smaller than the diameter of the speaker grill.  This let’s the sound through and you can’t see anything behind the speaker grill now!
I still have the drawer, front door and a bunch of touch up painting to do yet.
Day 9 hours: 4 1/2
Next :: Goto Mame Arcade Cabinet – Day 10
Since it’s been to cold to work on the cabinet I thought I would work on a list to help keep track of what I need to do and give me a place for reminders for things I want to do. Hopefully we only have a few more weeks of Winter left and Spring will be upon us. Then I can get down to business!
To do:
Winter has frozen progress on the Mame cabinet. We’ve had a couple of ice storms and it’s been a cold wet Winter. My workshop (which is my garage) isn’t heated so I just haven’t brought myself to work on it.
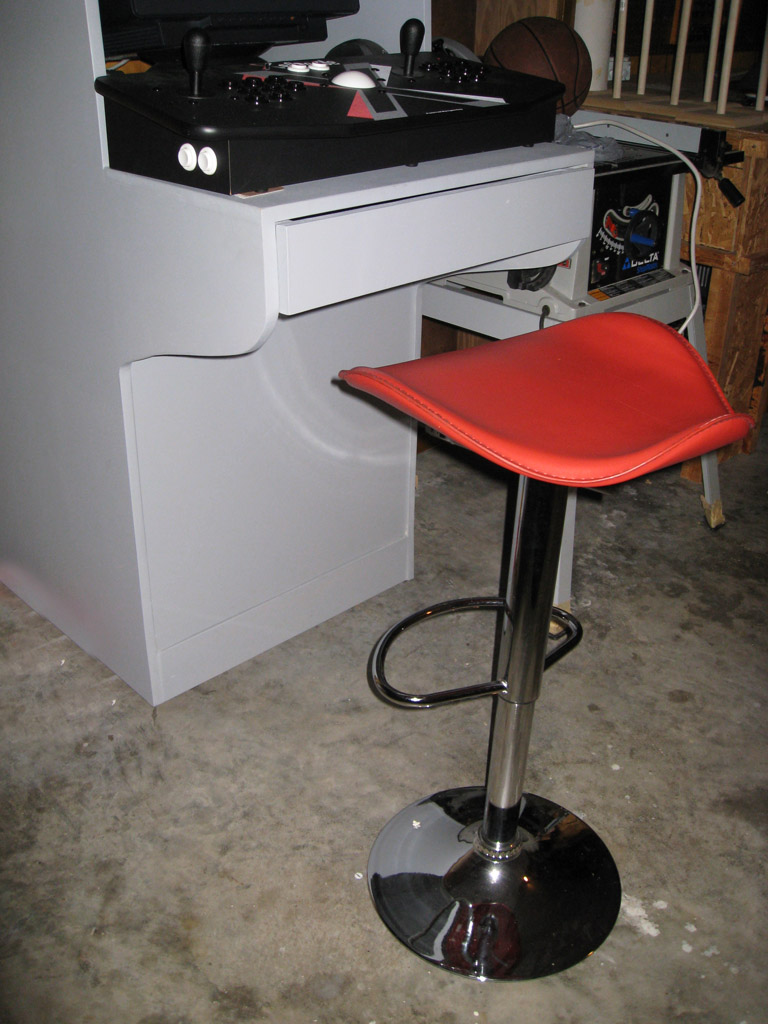
I did manage to pick up this snazzy chair yesterday. It’s a bar stool with a funky red leather seat. The height is adjustable and I thought it fit the arcade perfectly!
Hopefully we can break out of this cold weather so I can get back to working on the cabinet. I’m still looking for a 27″ TV to put in it. I’ve ran across a couple of them, but their were either to big or didn’t have s-video inputs.
Next :: Goto Mame Arcade Cabinet – Day 9
Well, I didn’t make much progress. At least that’s how it felt. I reworked the speaker panel and installed the speaker grills. I added a green and a red button on the speaker panel and wired them in to control the computer’s power and reset button. Now I can turn it on and off without opening the front of the cabinet. The fluorescent light I was planning on using for the marquee was too small so I got a larger one that’s 23″ long and puts out more light. I’m using a set of Logitech x540 speakers and quite by accident the base of each speaker pivots around so it could be mounted on a wall which made them perfect for mounting on the 2×4 just above the speaker panel. So using the handy mount and some chicken wire I mounted the speakers and they are easily removed so I can finish painting and such.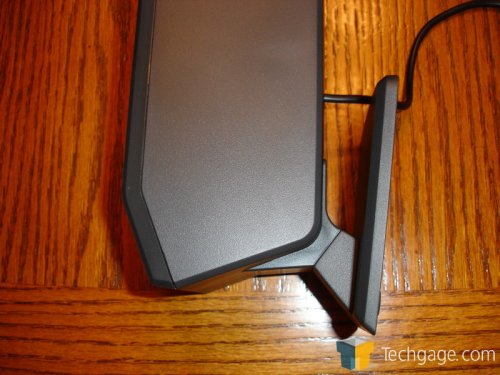
Another good thing about the x540 speakers is it has this handy volume pod sort of thing so I can put it in an accessible place and control the speaker volume.
I thought about mounting it on the speaker panel, but I don’t want to make it specific to these speakers in case I need to change them out later.
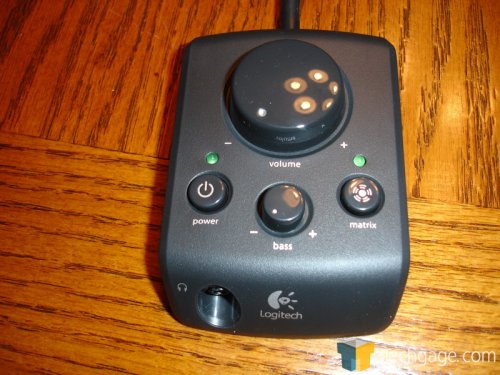
Speaker images pulled from this review of the x540 speakers here.
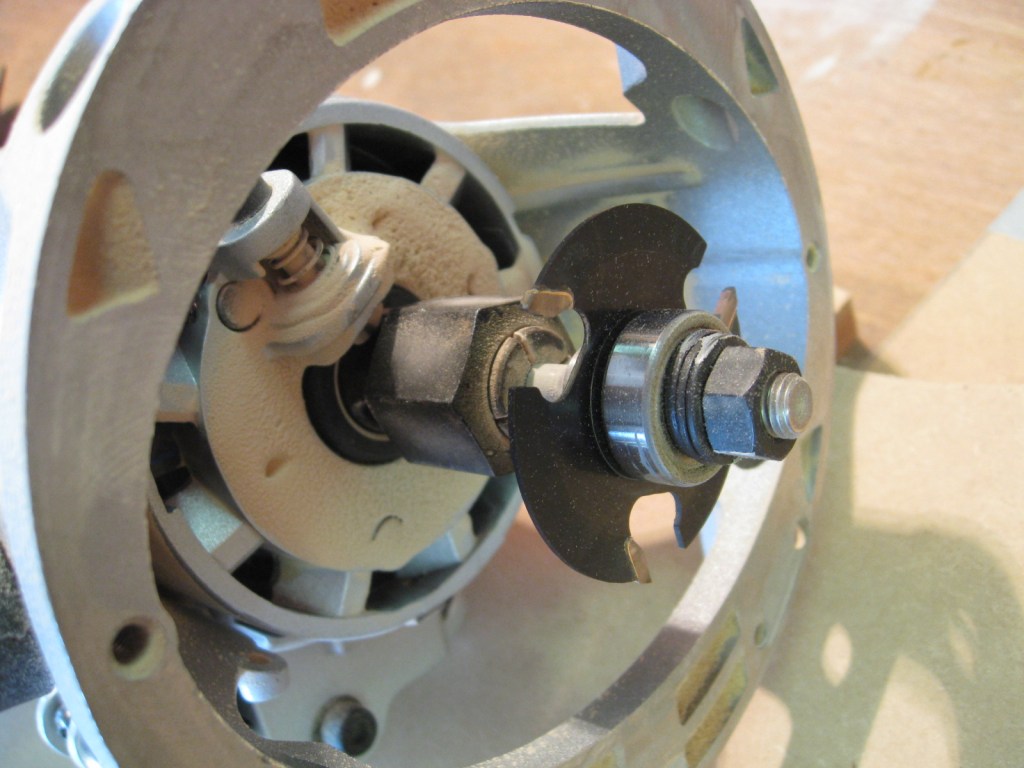
I’m pretty sure I broke the slot cutting router bit by installing it backwards. I’ve used Jigsaws and circular saws and table saws and drills and Dremels and belt sanders and many other power tools. The router is the one power tool that actually scares me a bit. The slot cutting router bit for cutting a slot in the sides for installing the T-Molding came as a shaft, a cutting blade that looks like a really small circular saw blade, some washers and bearing. You have to put it all together and I think looking back at it I put the blade on upside down. When I started doing test cuts there was alot of smoke. I just thought that’s how it did with the MDF because when I cut circle holes it did something similiar. After awhile the blades on the cutter simply broke off.
This is what it should have looked like.
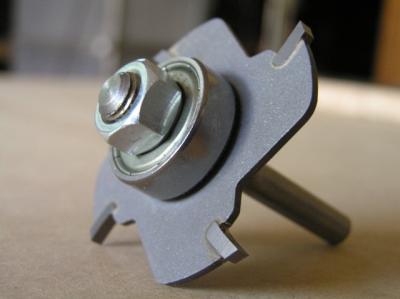
Image was pulled from here.
Well that’s a $20 lesson learned. So, I’ll get another one and try it again later.
Day 8 hours: 2 1/2
Next :: Goto Mame Arcade Cabinet – Update
I haven’t done anything on the cabinet for the past week. I didn’t want to spend more money so I wasn’t going to do the T-Molding around the edges and some other stuff I was going to skimp on. But I figure this thing is going to be around for awhile so I want to do it right. Plus I just haven’t had any extra time to work on it. So, I’m going to order the T-Molding and the router bit for it and some other stuff and in a week or two get back to finishing it. Then I need to route edges for the T-Molding, put another coat of primer on it, paint it black, re-do the speaker panel, get the artwork printed at Kinko’s (the current artwork on the marquee I just printed on a inkjet printer, but it’s multiple pieces of paper so you see the seems), get a coin door and mount that plus whatever other things I decide to do!
I haven’t found a TV to use in it and I don’t like how the speaker panel came out so I’m going to redo that.
I also want to give it a name, but haven’t found anything that isn’t already taken or isn’t just plain cheesy and silly.
The above picture is how it now stands.
In the mean time check out this Google Directory I found with links to tons of arcade cabinets others have built. I’ve been browsing through it looking for ideas.
I didn’t get a lot done today. I wasn’t sure how I was going to do the marquee area at the top just yet. I read some around on the internet and looked at what others had done. Most bought the marquee retainer from Happs controls. It was $13.35 for 10 feet. So I added it to my cart on their website and went to check out. Well, they have a $25 minimum and I didn’t have anything else I needed right away. So, I thought well, I’ll just see if I can find something here that’ll work.
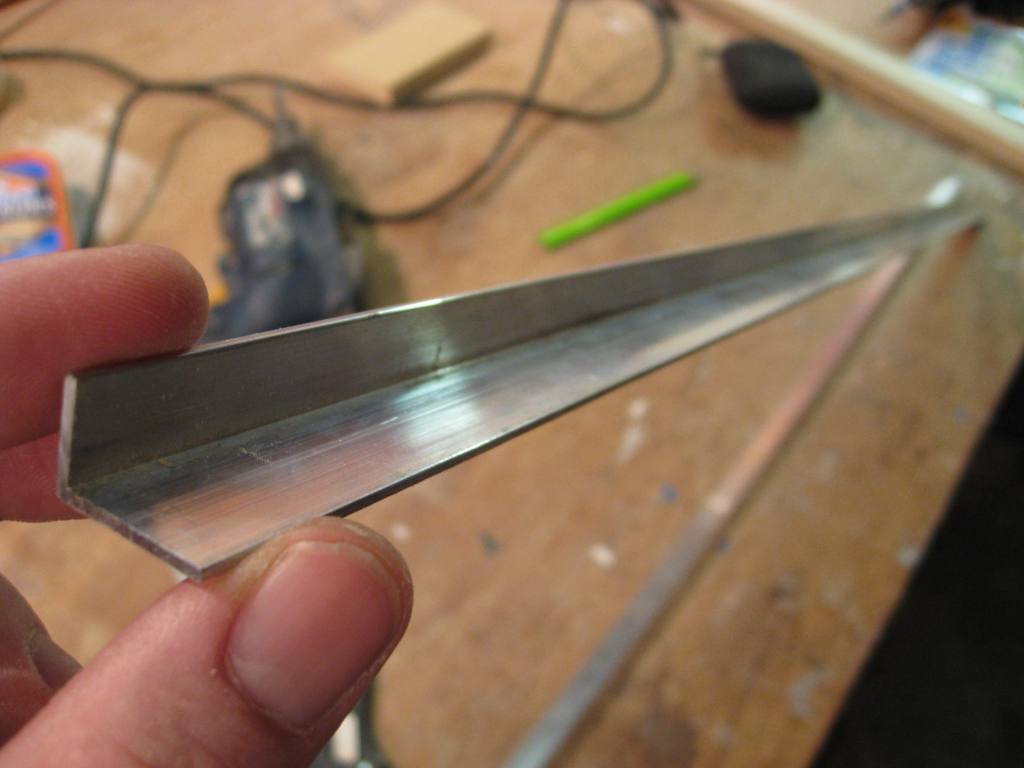
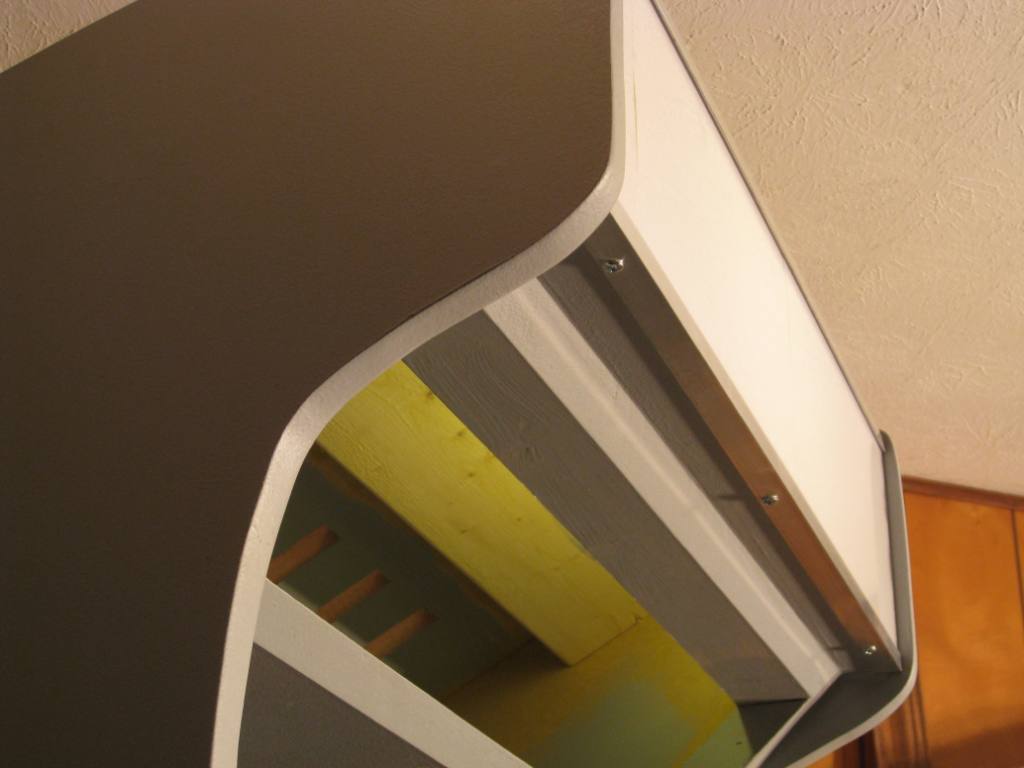
I went to Home Depot and wandered around until I found these 36″ aluminum L shaped brackets. They worked perfectly and only cost $2.99 each! Since it’s aluminum they cut fairly easily with a hack saw blade.

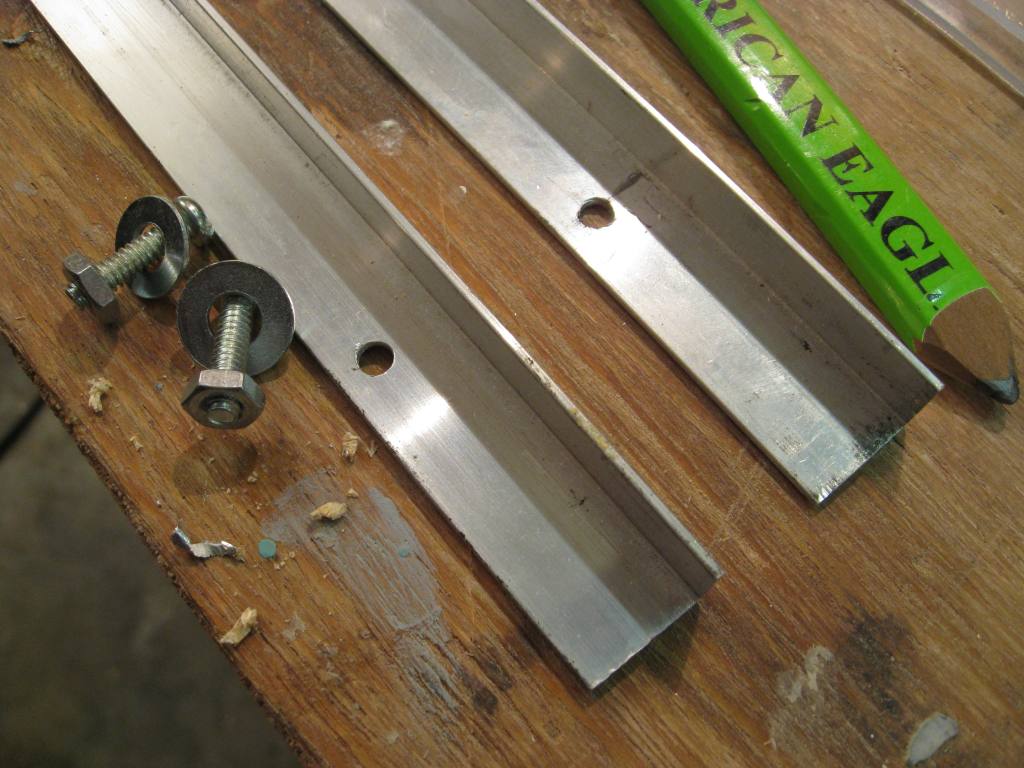
I drilled three holes in the L brackets and the upper and lower marquee support area while holding 2 pieces of plexiglass against the cabinet so I would get the spacing correct.
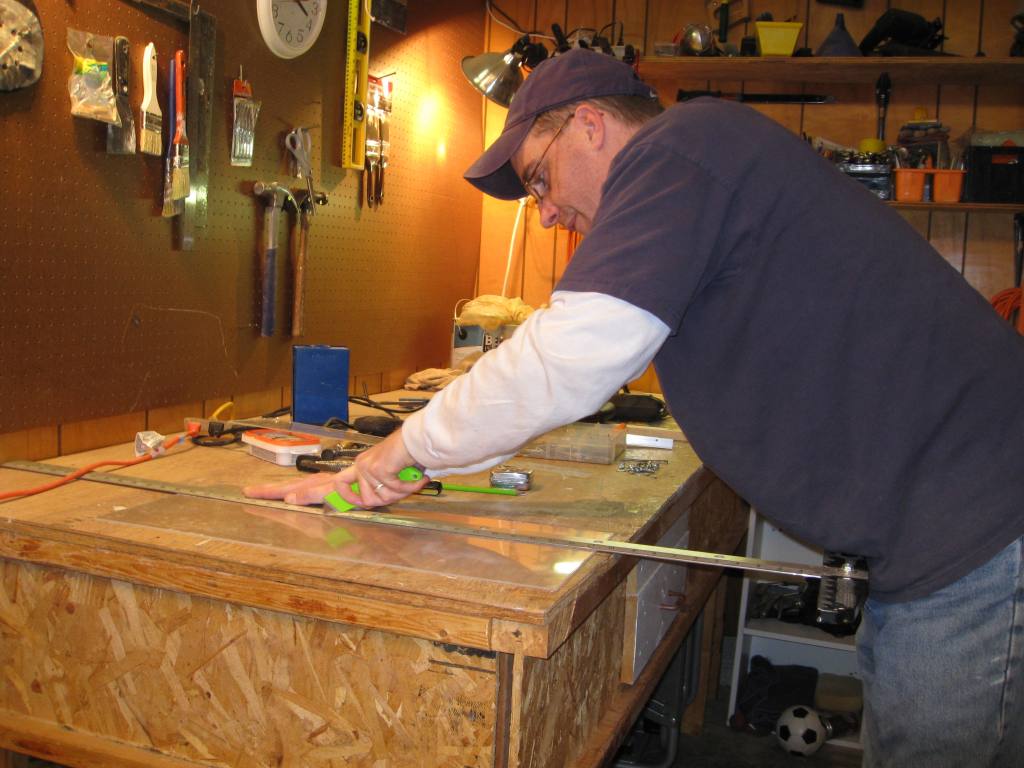
The plexiglass came in 24″ x 18″ sheet for about $7.00. I had no clue how to cut it so I just grabbed my utility knife and scored it until it came apart. That doesn’t make for very clean edges, but you won’t see the edges I cut since they’ll be resting behind the L brackets. If you have to cut a side of the plexiglass that will show you’ll want to find a different way to cut it.
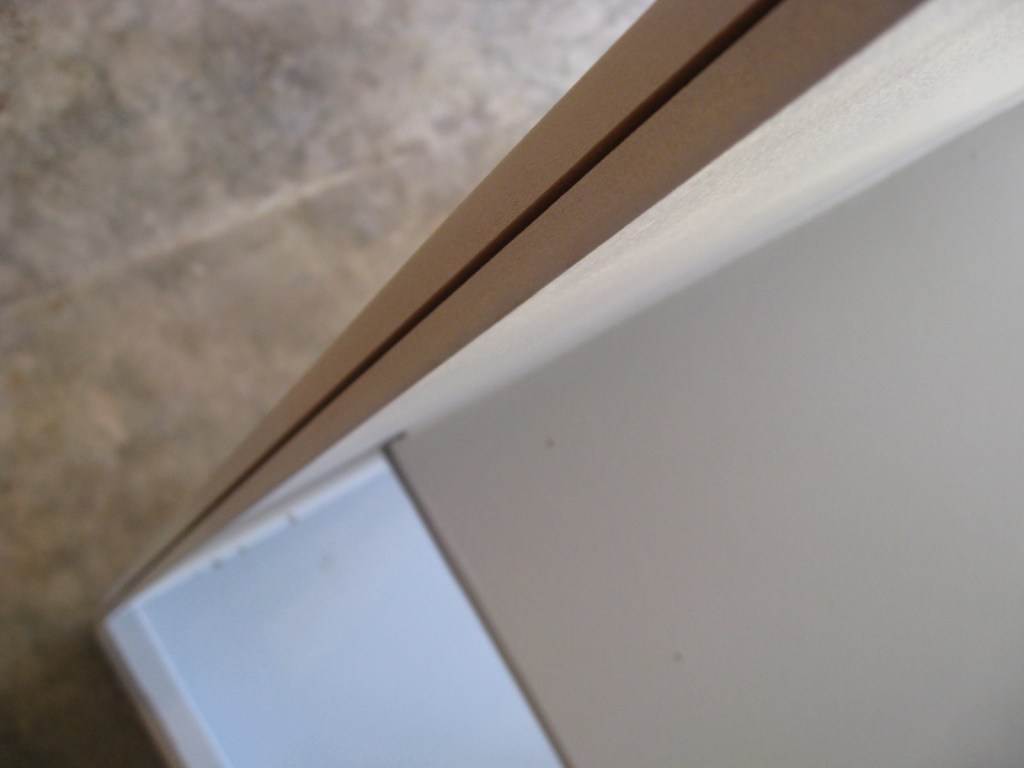
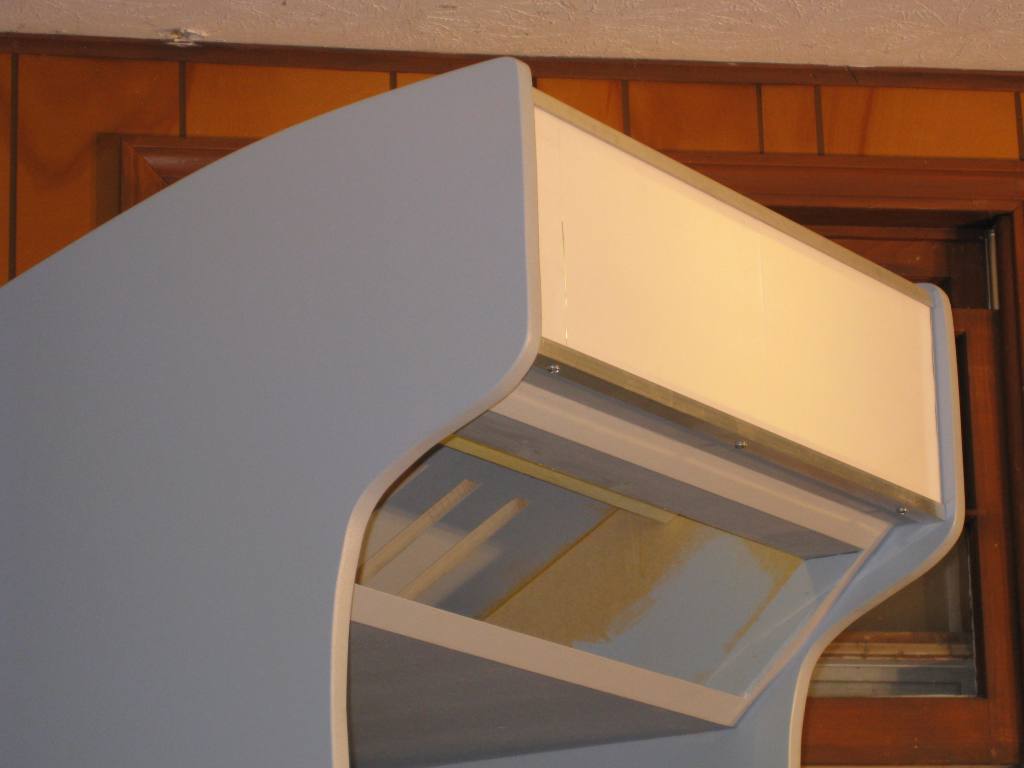
Here is the plexiglass installed with the L brackets. I have a piece of blank paper between 2 sheets of 24″x 7″ plexiglass. I’ll work on the artwork and have it printed at Kinko’s later.

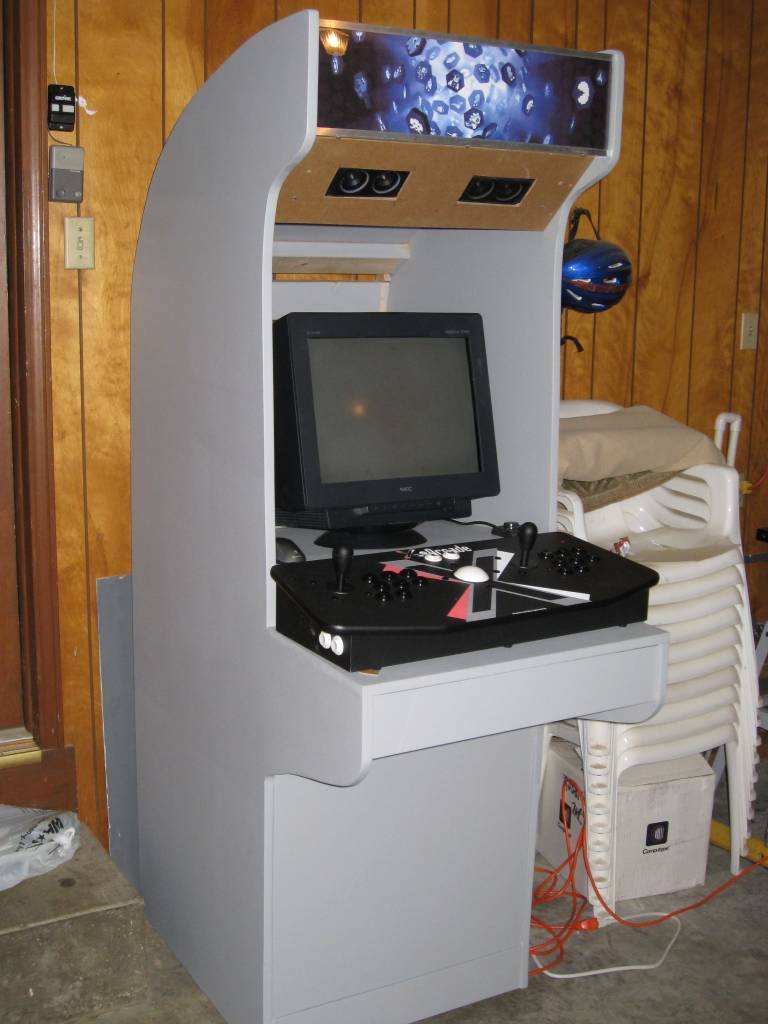
Like I said earlier, I didn’t get alot done today. Mostly because while the primer was drying the other day I took some of the scraps from the arcade cabinet and made my wife this little writing desk. It’s 31″ tall, 18″ deep and 40″ wide. She saw a picture in a magazine and asked me if I could make it. I wasn’t sure, but I figured I’d give it a try. It turned out pretty good and should score some brownie points for all the hours I’ve spent (and will be spent) working on the arcade cabinet!

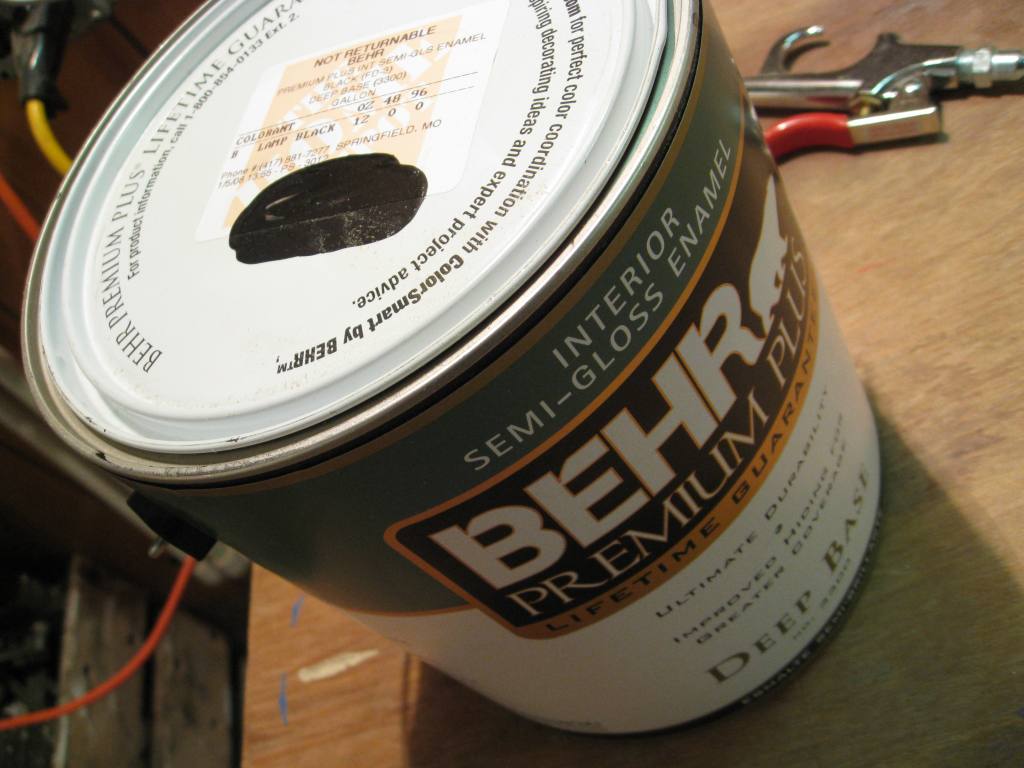
Oh, I also managed to buy the black paint!
Day 7 hours: 2 1/2
Next :: Goto Mame Arcade Cabinet – Day 8