Zune Feet

More progress! You might be wondering where Day 9 is, well, day 9 took place a couple of weeks ago and I never got around to posting it! I’ll put it up later this week. (Day 9 posted 6/1/08)
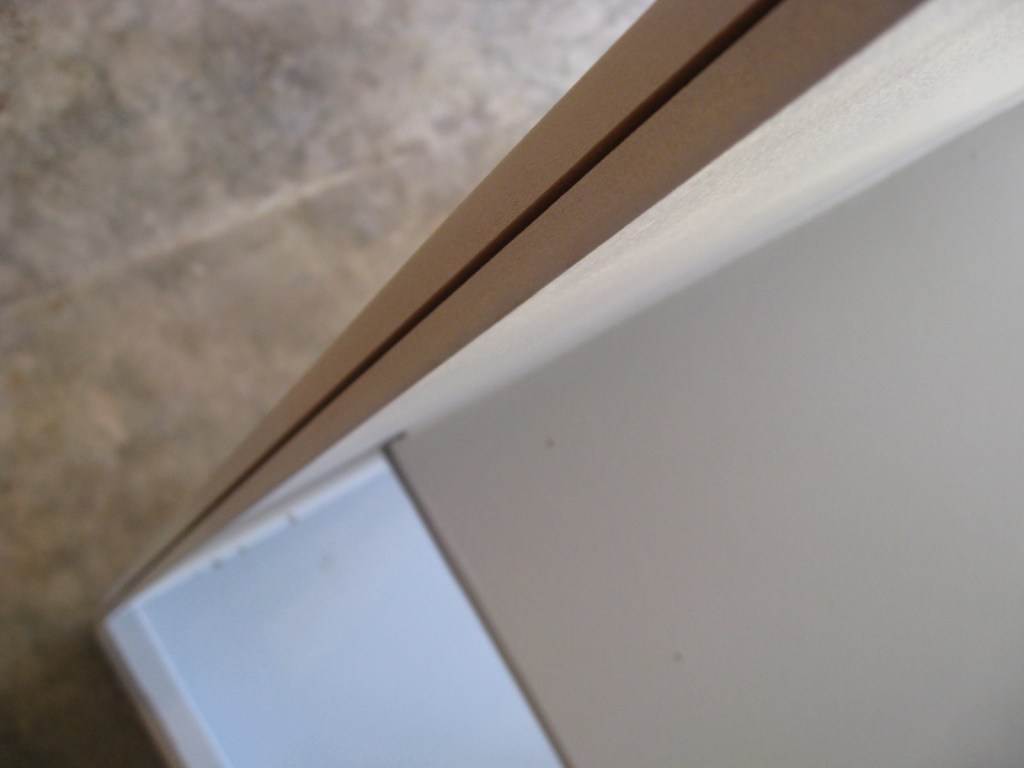
When last we left the continuing saga of the Mame Arcade Cabinet back on the update following Day 8 the cabinet had been painted primer grey and the T-Molding still wasn’t done.
We join the saga on Day 10 and it’s been painted black (most of it), the T-Molding has been installed and I found a TV! It was my first Craig’s List purchase! I had been watching Craig’s list for 25″ TV’s for several weeks and hadn’t really found anything promising. Then I saw this posting on there for a JVC 25″ TV with a good picture, broken remote and for the low low price of $20. So, I contacted the guy and he said he’d let it go for $15 because he was eager to get it out of his house.
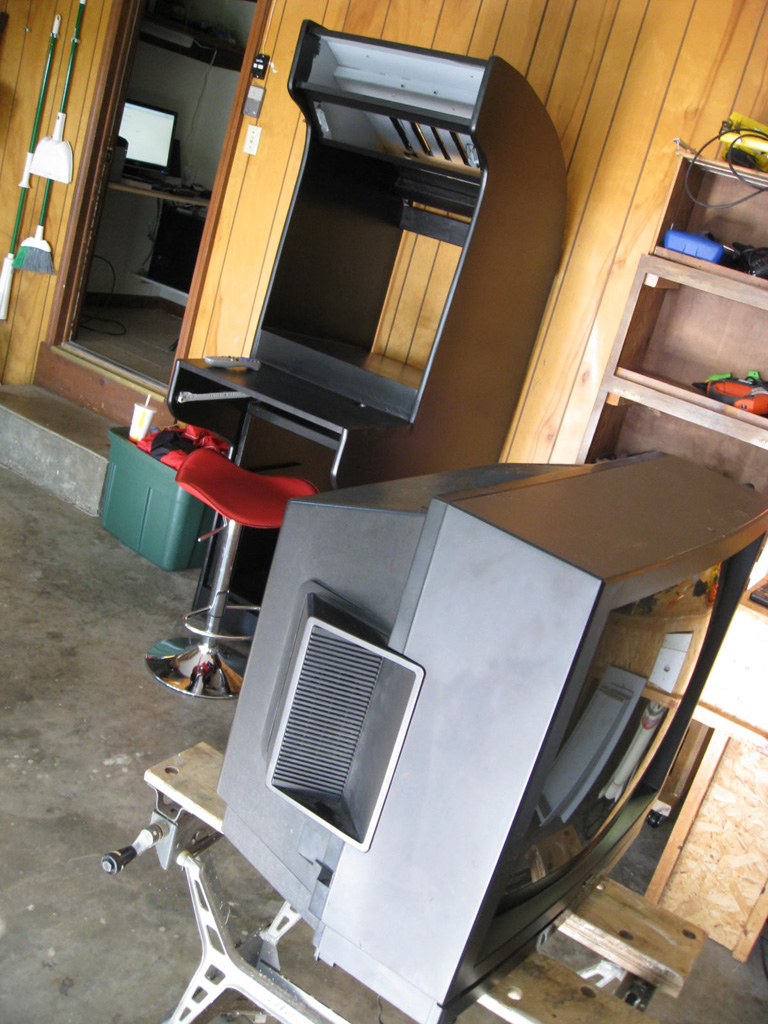
So, I get the TV home and it works great but…it’s 3/4 of an inch to wide to fit in the cabinet! Just 3/4 of an inch!
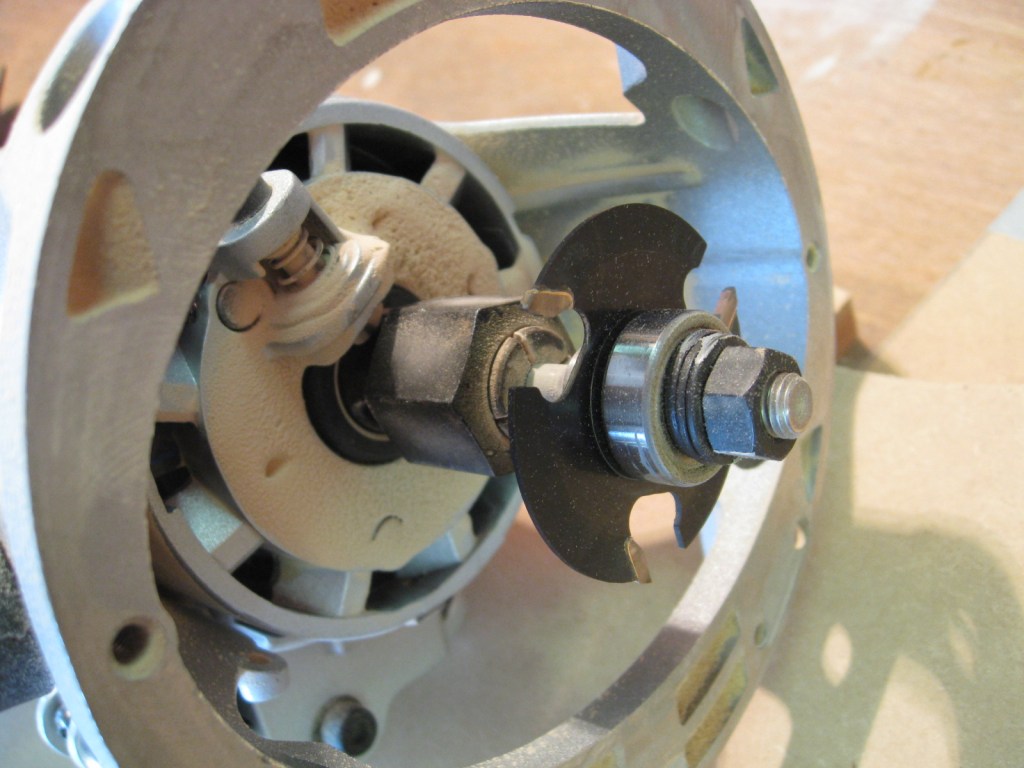
My first thought was…where’s my Dremel?
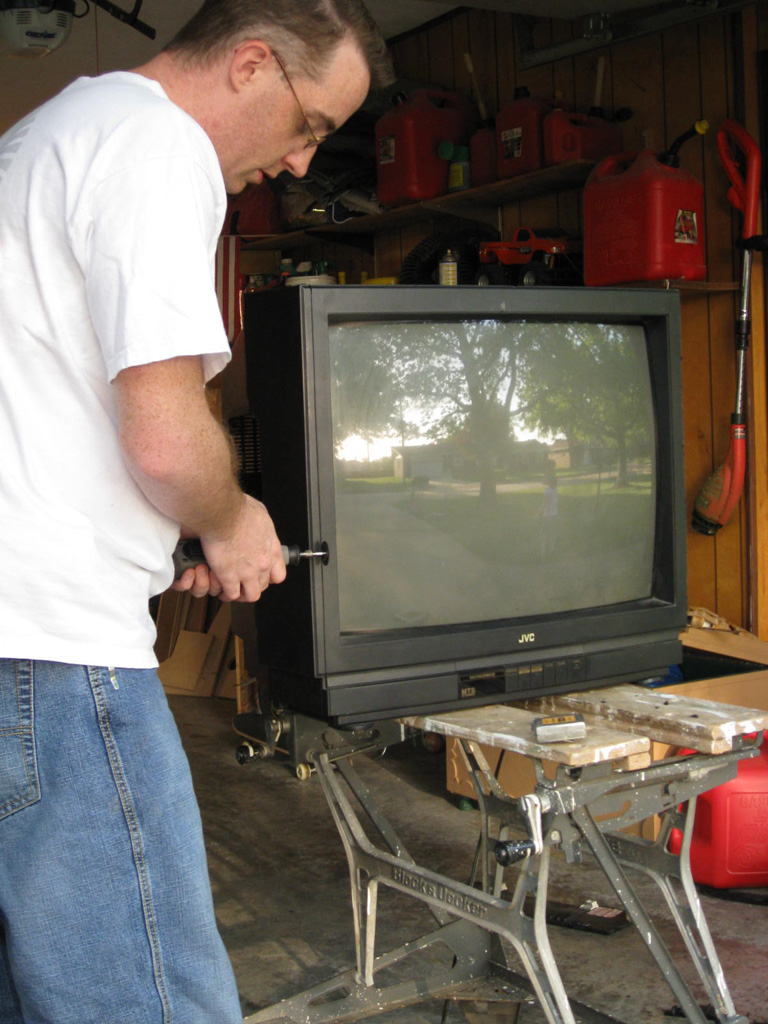

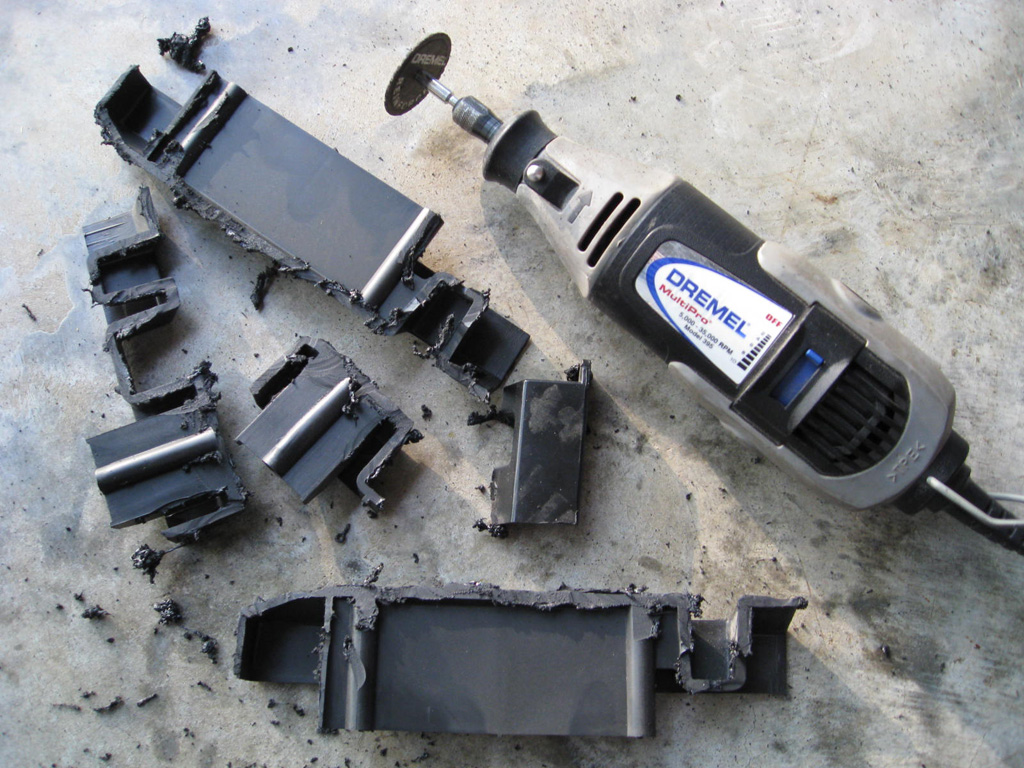
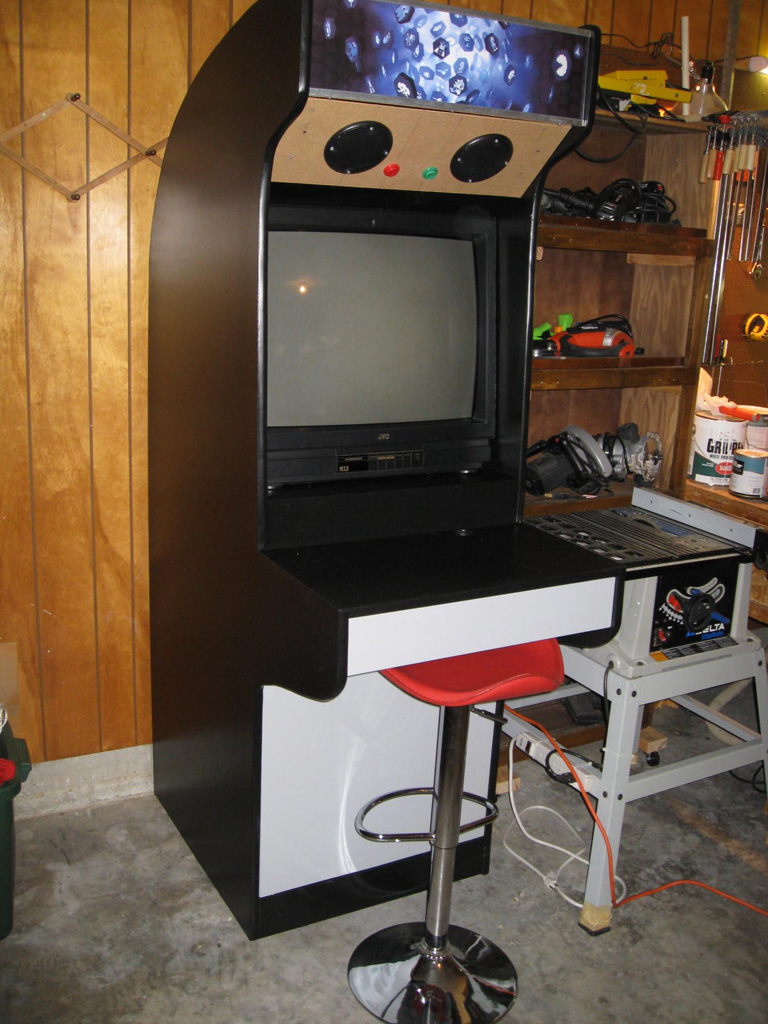
So after a bit of hacking the TV fit into the cabinet nicely. Next I plugged my Satellite TV into it to make sure the thing still worked and it does!

So here it is as it stands. I still need to paint the speaker panel, the front main door, the shelves and a little touch ups here and there. Then I need to get the computer hooked back up with the joystick. Next comes getting a piece of glass that will serve as the bezel in front of the TV as well as some sort of artwork for the sides of the cabinet. Oh, and I need to get the artwork at the top printed by Kinko’s or someone. Currently I just printed it on two sheets of paper on my inkjet printer and put them together, but when the light is on you can see the seams. It’s looking more and more like an arcade cabinet!
Day 10 hours: 2
Next :: Goto Mame Arcade Cabinet – Day 11


We have emerged from a seemingly long, cold and wet winter. I pulled my camera out today for the first time in what seems like months. It felt good to hold it and hear the sound of the shutter. I hope they never get rid of that sound from cameras, there’s something about it that seems to be an intricate part of photography. Anyways, when you add to this yucky cold winter the fact that I’ve been working hard at getting my MCSE (Microsoft Certified Systems Engineer) certification it adds up to no time for shooting. I hope to change this here after I finish my last test which is scheduled in the next couple of weeks. Thanks to you all who continue to visit despite my lack of posting!


Day 9 brings in routing the edges for T-Molding, black paint and wiring switches and lights on the speaker panel.
After my first encounter with the router and doing the T-Molding I was really not looking forward to this part. But, once I got the depth set correctly and went after it, it worked like a charm. I do recommend doing this part before assembly of the cabinet, but since I had only done the primer coats it turned out great. I zipped around the edges and had a good clean groove in no time.
I’m not sure what it is about painting that I don’t like, but I really hate painting. Maybe it’s the monotonous motion of rolling or brushing on the paint, I don’t know. So, I started in on the black paint.
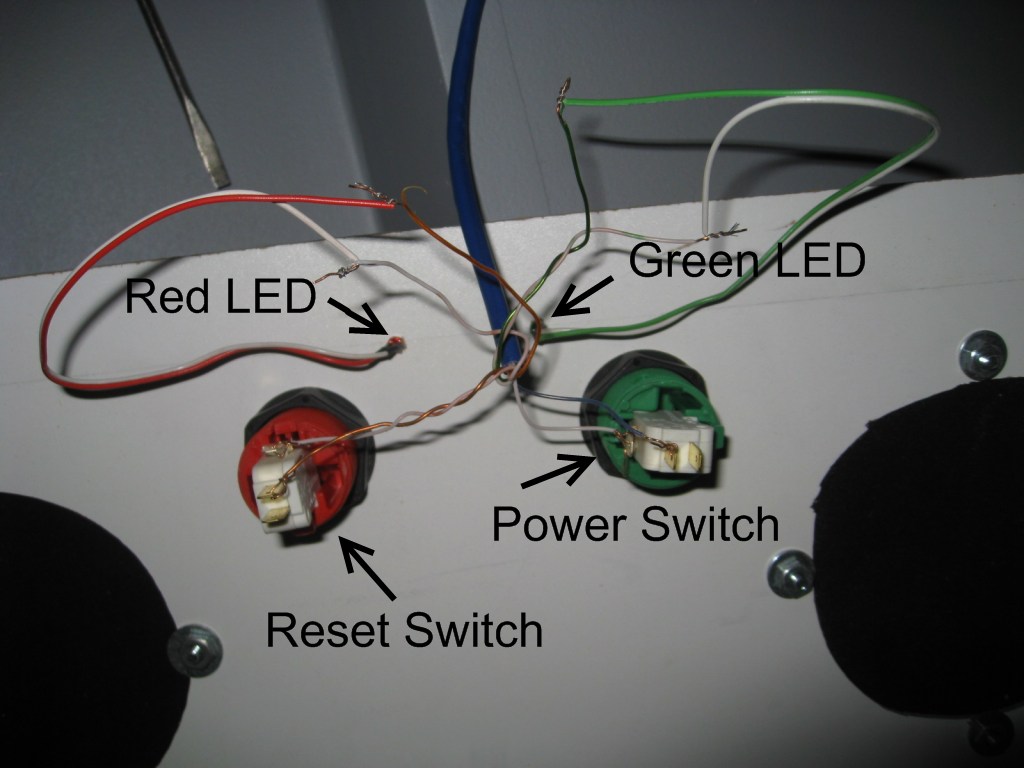
I got bored with painting so I turned my attention to wiring the switches and LED lights on the speaker panel.
I wanted to be able to turn the computer on and off without having to open the front door of the cabinet. So, I took an old computer case and removed the green LED, red LED and the connections running from the power switch and reset switch. The I grabbed a long piece of cat5 cable and connected the motherboard connectors to the ends of each pair of the cat5.
I forgot to get a shot of the wires as they connect to the motherboard on the computer I’m using for the arcade, I’ll add that later. I ran the cable up to where the speaker panel is and connected the wires to the corresponding color pairs that I used at the motherboard end. The LEDs are mounted on the speaker panel by just drilling a small hole and pushing the LEDs into the hole. I’ll get a better shot of the front of the speaker panel later so you can see what I’m talking about.
What you see here is the back of the speaker panel.
One thing I found with the speaker grill is that since my speakers aren’t mounted right up against the speaker panel I was able to see through the speaker grill into the upper area of the cabinet. I took care of this by cutting circles out of a black t-shirt that were slightly smaller than the diameter of the speaker grill.  This let’s the sound through and you can’t see anything behind the speaker grill now!
I still have the drawer, front door and a bunch of touch up painting to do yet.
Day 9 hours: 4 1/2
Next :: Goto Mame Arcade Cabinet – Day 10

While studying for the MCSE 70-294 test on active directory I ran across this little command that I was previously not aware of. redircmp.exe
So, you can type: redircmp ou=mycomputers,DC=corp,dc=com
Replace the mycomputers with the ou (organizational unit) that you want all new computer accounts to go to. Replace the corp with your domain name and the com with
Pretty cool! I made a new OU where I store my computer accounts in and I always forget that new computer accounts go to the computers ou and it generally takes me a minute or two before I remember. This way new computer accounts will automatically go to the ou of my choice.
Go here to Microsoft’s website for more info on these commands.
You can also use: redirusr ou=myusers,DC=corp,dc=com
This will redirect the location that new user accounts are made in. I don’t use this one, but it is good to know.