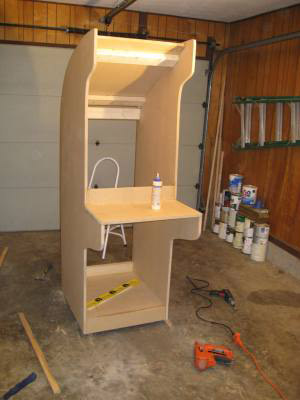
Alright! Day 2. My brother-in-law came over and brought a bunch of his cool power tools.
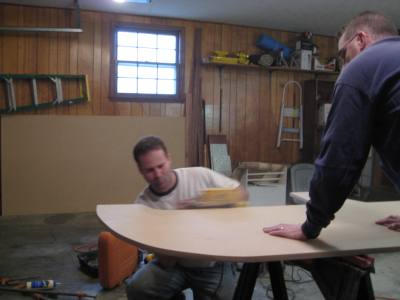
Ok, so today we started by sanding the first side that I cut on Day 1. I couldn’t get the rounded part on the first side drawn smoothly so I made straight cuts that I would later sand down. Getting the first side sanded and shaped exactly where I wanted it was key to getting both sides looking the same. My jig saw didn’t really cut very straight up and down either so it took a fair amount of sanding to fix it. Here we are using two sanders, one’s a belt sander for most of the shaping and then a circular sander for fine tuning.
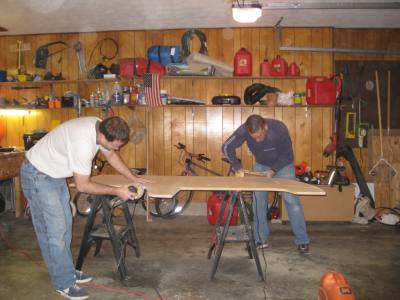
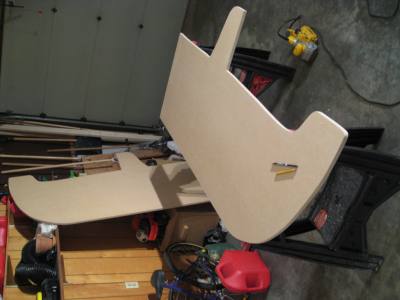
The MDF material generates a ton of dust when you sand it so beware! You’ll be covered in the stuff by the time you are done. I kept using my leaf blower to blow a lot of the dust out of the garage and off of all the tools! After sanding the first side we laid that on top of a fresh 4×8 sheet of 3/4″ MDF and traced it, then cut it out. Once the second side is cut out we sanded it until the two matched as close as we could get them.
Like I said before having the right tools is key to getting this to look as nice as possible. I didn’t want to just throw some wood together and be done with it. My brother-in-law’s jig saw works 10 times better than mine so the second piece didn’t take near as much sanding.
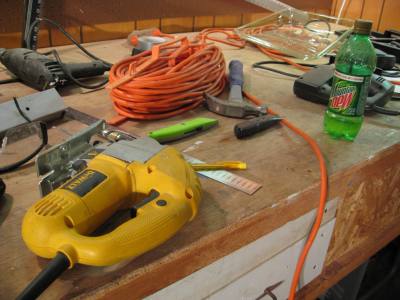
And of course the ultimate tool…Mountain Dew!
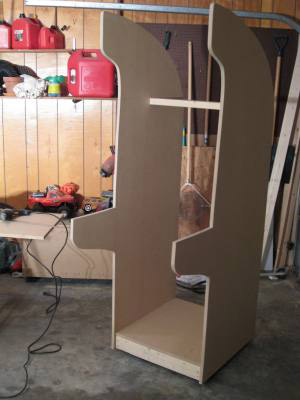
Next we attached the base to the two sides and stuck a 2×4 between them at the top for support as we progressed. That upper support will come out later on.
Ok, next we attached supports on the top side and then put in the main top of the cabinet. Luckily my brother-in-law brought an electric nail gun which is an amazingly helpful tool! (I need to get me one of those!) We used the nail gun with glue to get the 2×4 supports in place and then we came back with some 2″ screws and screwed 2 of them on each side of the 2x4s for added strength. After that came the shelf across the front where the joystick panel will go.
We are getting excited, it’s really taking shape now!
One difficult part is making sure it’s level and even. My garage floor is not perfectly flat so it took extra measurements to make sure it turned out right.
Day 2 hours: 8 hours
Next :: Goto Mame Arcade Cabinet – Day 3

