Day 3…I added the speaker shelf, marquee supports and the monitor shelf.
The area at the very top will have a fluorescent light that will illuminate artwork sandwiched between 2 sheets of plexiglass. You can buy the marquees and other cool artwork from MameMarquees.com. I might end up going that route, but I don’t want to spend huge amounts of money on this thing! We’ll see.
So, I added the upper support area and glued and clamped it.
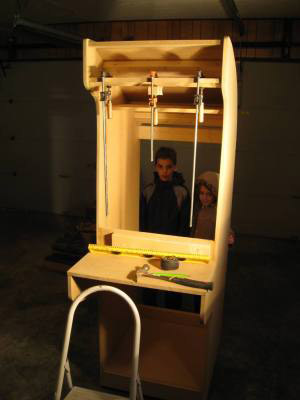
Here’s my kids hanging out watching me work. And asking me a thousand times when it’s going to be finished so they can play with it!
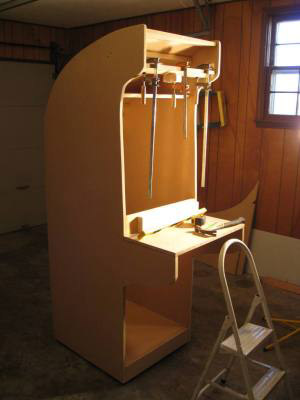
A different angle.
In the next picture you can see the area where the speakers will go. Just below the marquee at a 45 degree angle will be a thinner piece that will support the speakers. I think I will also put a power button and reset button for the PC on that panel as well.
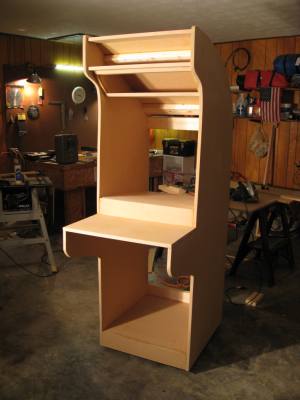
Here you also see the area for the monitor to rest. I raised it a bit from the original plans and I tilted it slightly downwards. I currently have a 19″ monitor to use with the cabinet, but I made the opening big enough to fit a 25″ or 27″ TV in it. I want to put a switchbox and be able to put a PS2 or other gaming consoles into the cabinet as well. From what I’ve read a TV actually works better for the old arcade games because of refresh rates and such compared to an actual computer monitor. I made sure to put a video card in my computer that has s-video out, so that when I get a TV to use it’ll connect using the s-video.
I really wanted to work some more on this today, but tommorrow is Christmas eve so I guess it’ll have to wait! :)
Day 3 hours: 3 hours
Next :: Goto Mame Arcade Cabinet – Day 4