I’ve been loving my Zune. There are still some things I am hoping Microsoft corrects, like gapless playback and the ability to use the Zune as a hard drive, but overall I’m extremely pleased with the Zune. I’ve used it to watch movies, listen to music and yes even listening to the radio as well. Despite Leo Leporte’s crazed ranting against the Zune, I like it alot better than the iPods I’ve owed. (It’s ok Leo, I’ll forgive you for being wrong this time!) One thing I wanted was more space though. After reading a post about upgrading the Zune to a 80gb I decided to try it. I ordered the 80gb Toshiba 1.8 inch drive from ComputerHQ.com. Then using the step by step instructions on ZuneScene.com and iPodmods.com I took my 30gb Zune and made it an 80gb Zune. I haven’t seen any adverse effects so far, but I just did it today. So, I’ll be watching it closely as the new year roles in and will let you know if anything goes awry. Overall it’s pretty easy to do.
One thing to point out is that the 80gb hard drive is a bit thicker than the 30gb so to install it you have to leave out a metal bracket that is in there either to take up space or to give some added protection to the drive, though I’m not sure just how much protection it would really serve and my zune tends to stay in it’s leather case anyways.
If you are shy about popping open your brand new Zune then you can send it to iPodMod’s and they’ll do the upgrade for you.
If anyone has any questions, I’m no expert, but I’ve done it once and can do my best to answer questions.
For those of you interested below are some pics of the process.
Thanks to Brandon for being the photographer during the process! :)
Oh, and don’t leave me any comments about how I could have got an 80gb iPod and not had to take it part and blah, blah, blah and actually spent less and blah, blah, blah, because I don’t want a iPod I want a 80gb Zune, thanks. :)
Click the pictures for a larger version.
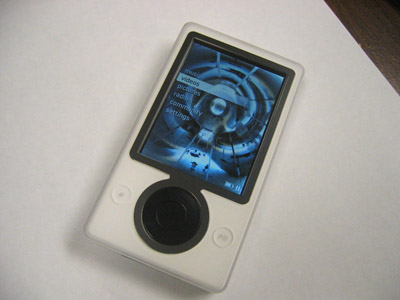
Before starting the upgrade.
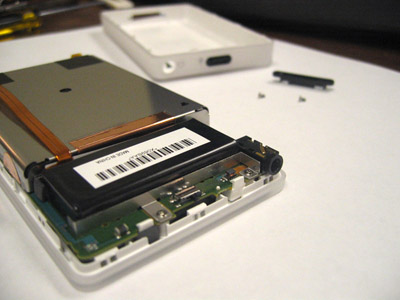
After taking the small black piece protecting the dock and removing the back.
This was the most nerve racking part because I was worried about denting or scratching the Zune.
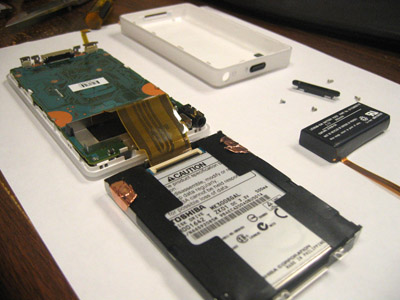
After removing the battery and folding out the hard drive.
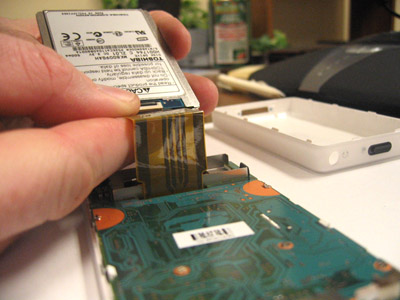
Removing the ribbon from the 30gb hard drive.
There is a very small black lever on the hard drive connector you pop up to get the ribbon to slide out.
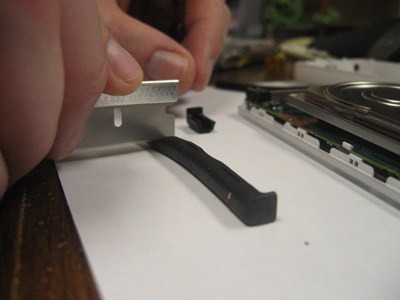
There are black rubber bummpers surrounding the 30gb hard drive that have to be trimmed down.
See the pictures on iPodMod’s instructions for more details.
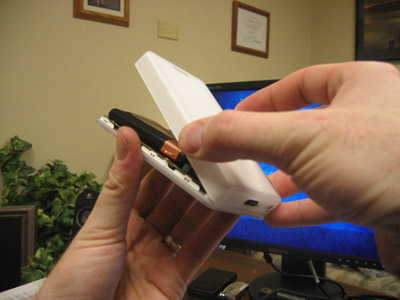
Putting the back cover back on. This part took a couple of tries to get it back on correctly.
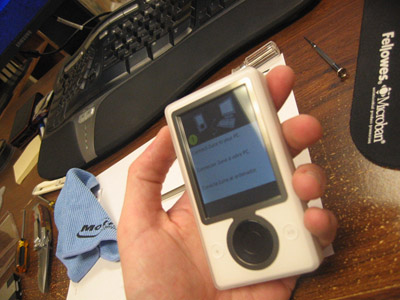
Once it’s all back together you simply turn it on and follow the directions.

The Zune software re-installing the firmware on the Zune.
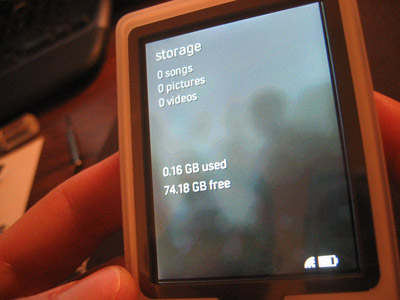
After the firmware installs it’s all done. Now it’s time to sync all that music and videos back on there.
